Kevin did a great job incorporating the Google Sketch-up schematic into Solidworks with working movement simulation!

(Please click on the picture if the gif does not load)

Kevin did a great job incorporating the Google Sketch-up schematic into Solidworks with working movement simulation!
(Please click on the picture if the gif does not load)
After about 48 hours the tissue on the test plates congealed and were ready to be checked. Overall the outcome seemed very promising and most of the tissue seemed to entangle within the velcro! The next step will be to determine which velcro apparatus is the best candidate.
Camera images:


Microscope images:


As the prototype sketch is nearing completion, we needed a little bit more information about the cardiac tissue properties. For the petri dish/arm complex, we wanted to utilize velco as a means of connecting the tissue to the device. The sketch could only be finalized once we were sure that the tissue could actually adhere to the velcro. Accordingly, we set up some test plates with various velcro apparatuses and grew tissue according to the pre-designed protocol.


Kevin has taken the preliminary sketches that were made in Google Sketchup and translated them into SolidWorks. The base/actuator arm/dish arms complex was focused on to simulate the movement that will occur in the prototype.
Here is an example of the prototype’s arm movement:

Parts: Actuator arm (blue); dish arms (connected from actuator arm to petri dish); motor (circle in top right)
Here, the motor will push the actuator arm back and fort, which will move the dish arms up away from the static arms. This will ideally cause a shear strain on the cardiac tissue which is located between the dish arm and the static arms on each petri plate.

With a (somewhat) complete model sketched up, the group has a discussion on the specific parts needed. As the deadline is approaching, we needed to:
a) select which specific materials we need for each part
b) the type of material we need for each part
c) what vendors to buy from
The group decided on this parts list:
_____________________________________________________________________________

_____________________________________________________________________________
…and the order was placed!
With the complexity of the cell culture plate dynamics (size/cell type/etc), we needed to finalize how the motor can be interfaced with the bioreactor. Pete’s expertise helped us along the way. He suggested we use a stepper motor which will allow us to make precise movements that can perform the movement arc we need to achieve without being too pricey or complicated. Here is Pete’s diagram of the specific parts needed to interface it to the bioreactor:

The motor will work by rotating a cylindrical object back and forth instead of full rotations. These movement speeds and distances can easily be controlled with Arduino.

With some of the arm sizes and necessary movements, Mitch is hard at work updating the 3D model to incorporate the updated calculations.


With the candidate bioreactor modeling underway, the group needed to figure out the mathematical measurements for achieving the range of shear stress we aim to perform. This range (tentatively 0.05-0.25, with 5-6 equal increments and one control) was extrapolated to the amount of movement the machine needs to perform. These measurements will be incorporated into the model. The next steps are to update the model to fit.

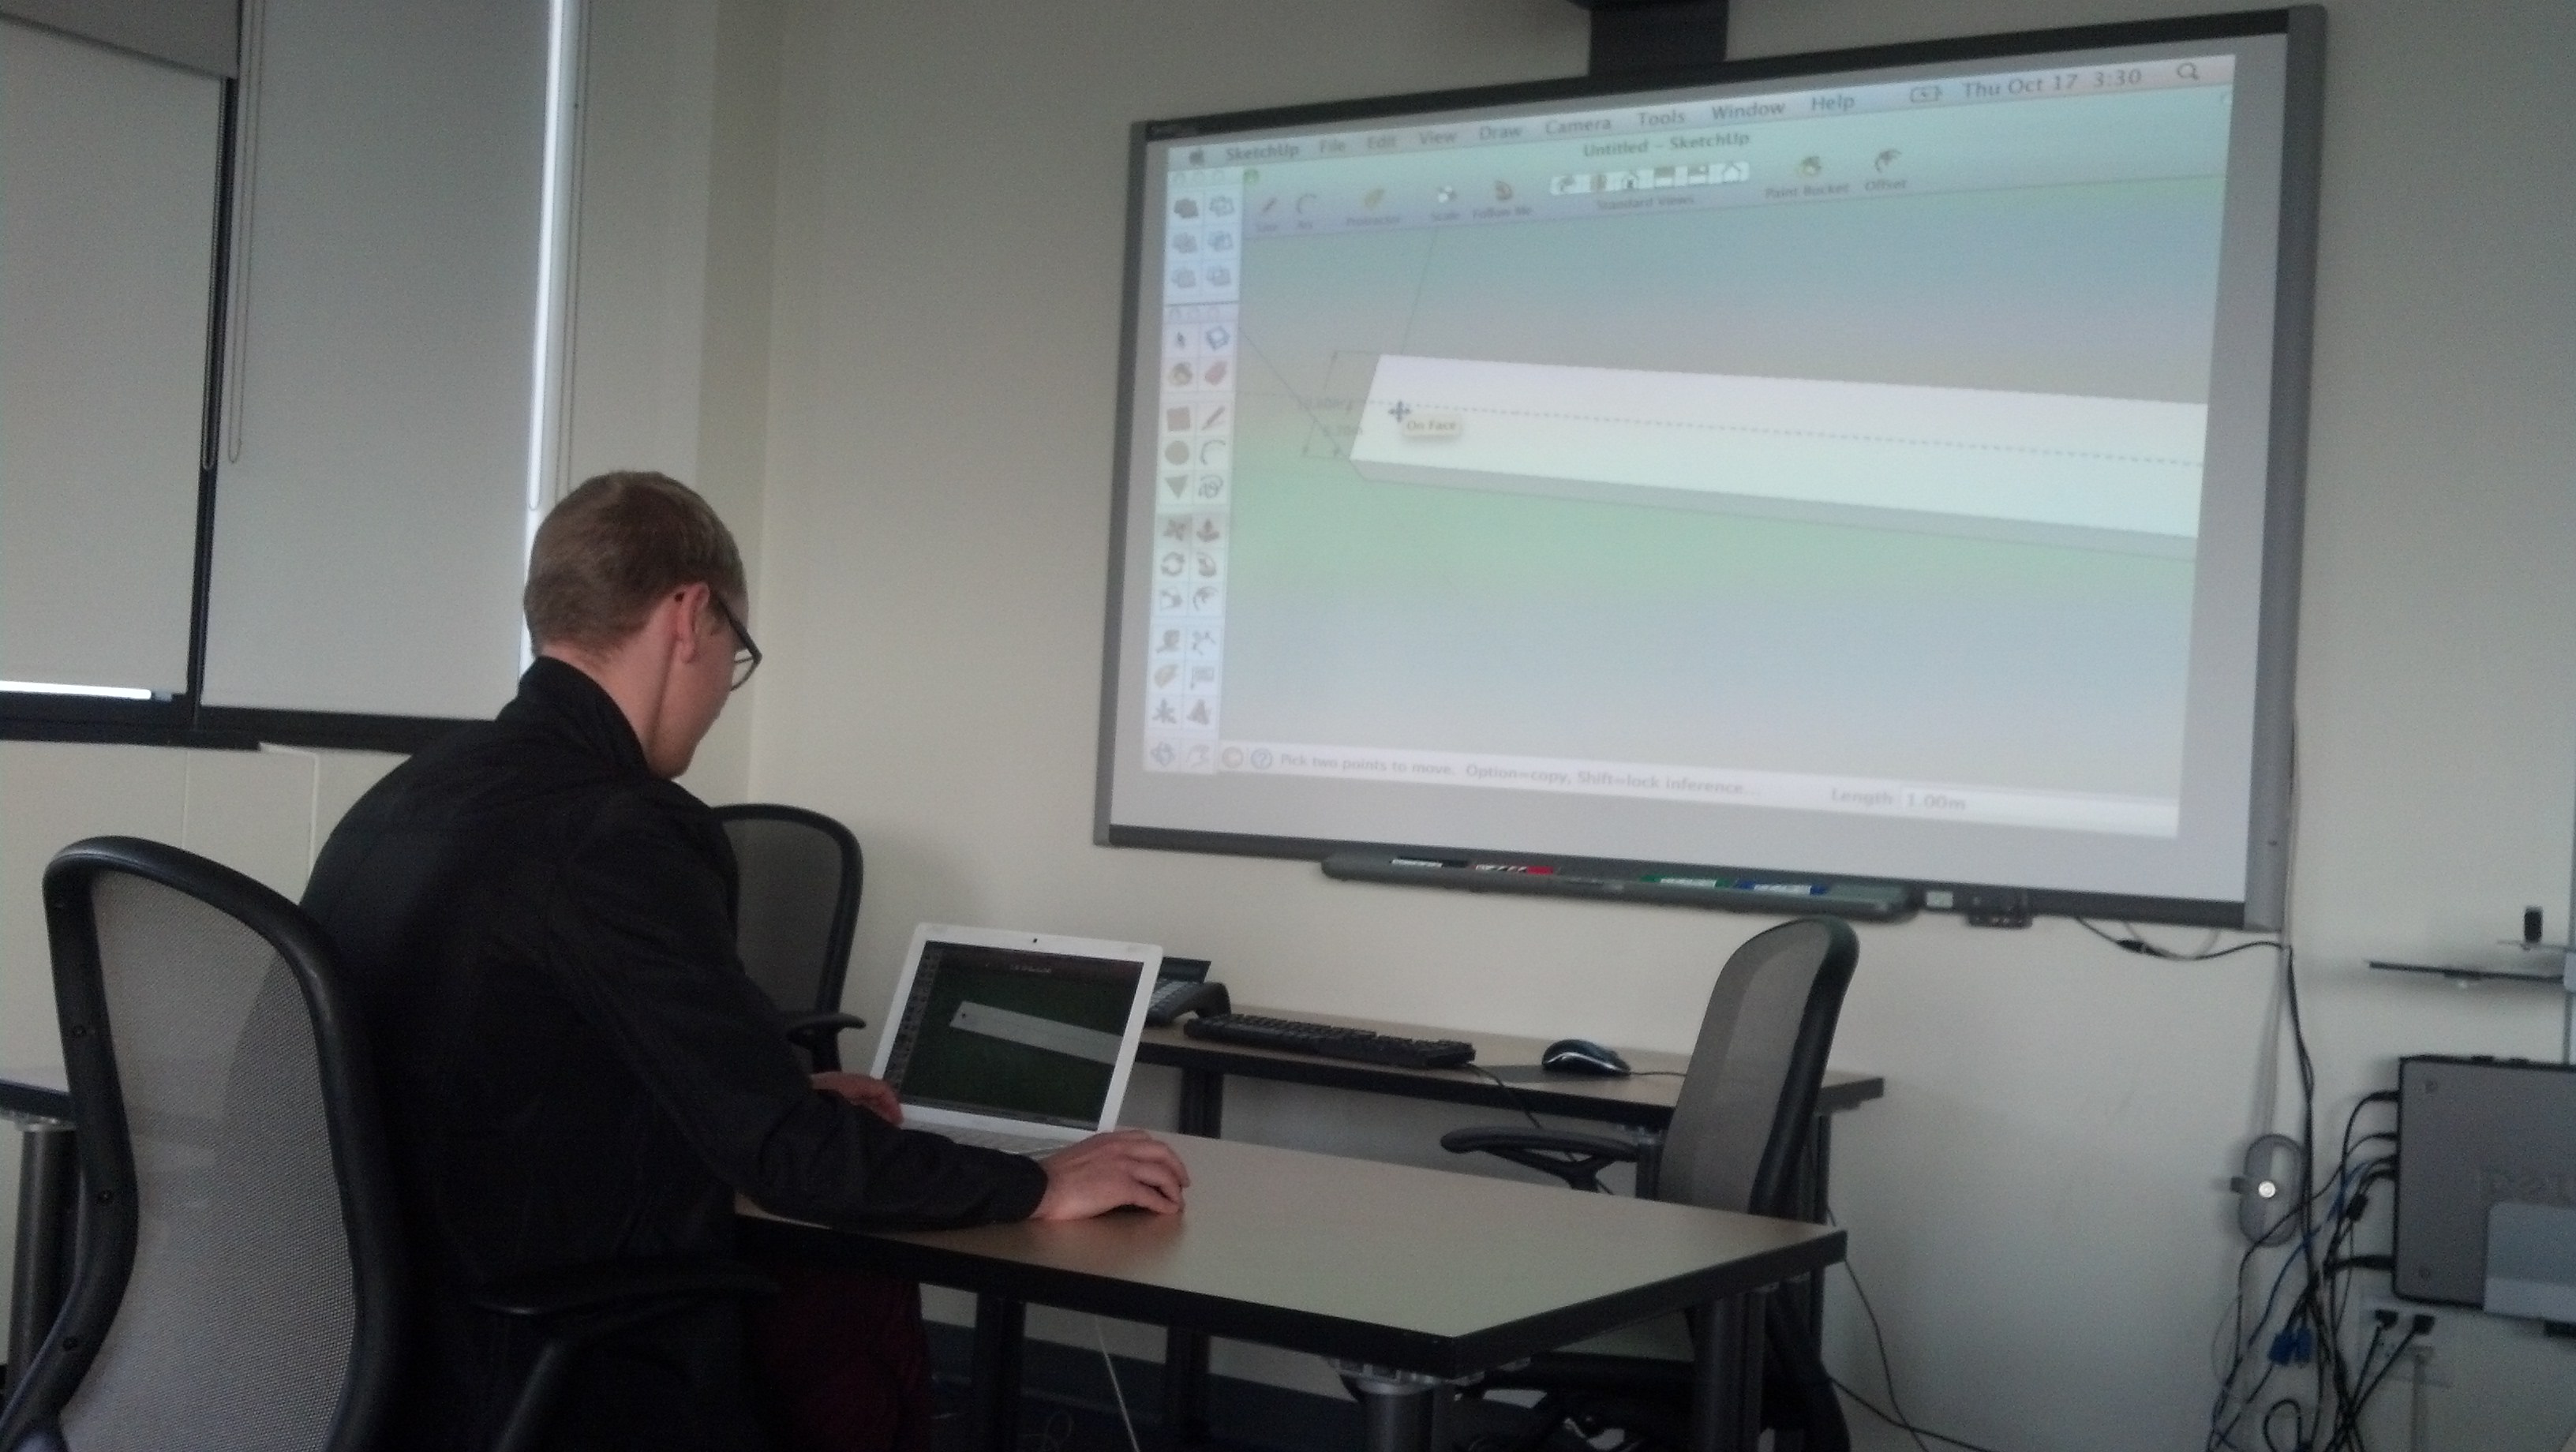
With Mitch’s initial 3D model, Pete helped the group think about the specifics of how the model will work. This process included thinking about mechanism and movement mechanics and trying to fit them within this model and current design. This exercise was completed by projecting the current model onto the SMART whiteboard and drawing additions onto it.


Mitchell has done a great job rendering our best candidate bioreactor model in 3D with Google Sketch-up. Although all the minute details and kinks are not figured out, this provides a great basis to work with and delve into specific measurements and ideal shear force generation.