
Agarose and Alginate have been commonly used in the literature to make 3-D culture constructs. The advantage of alginate is that it does not need to be heated up to solidify. You just simply add sodium alginate to a calcium solution and you get your gel! So we thought to take advantage of this property of alginate to make gel constructs without killing our cells by heat.
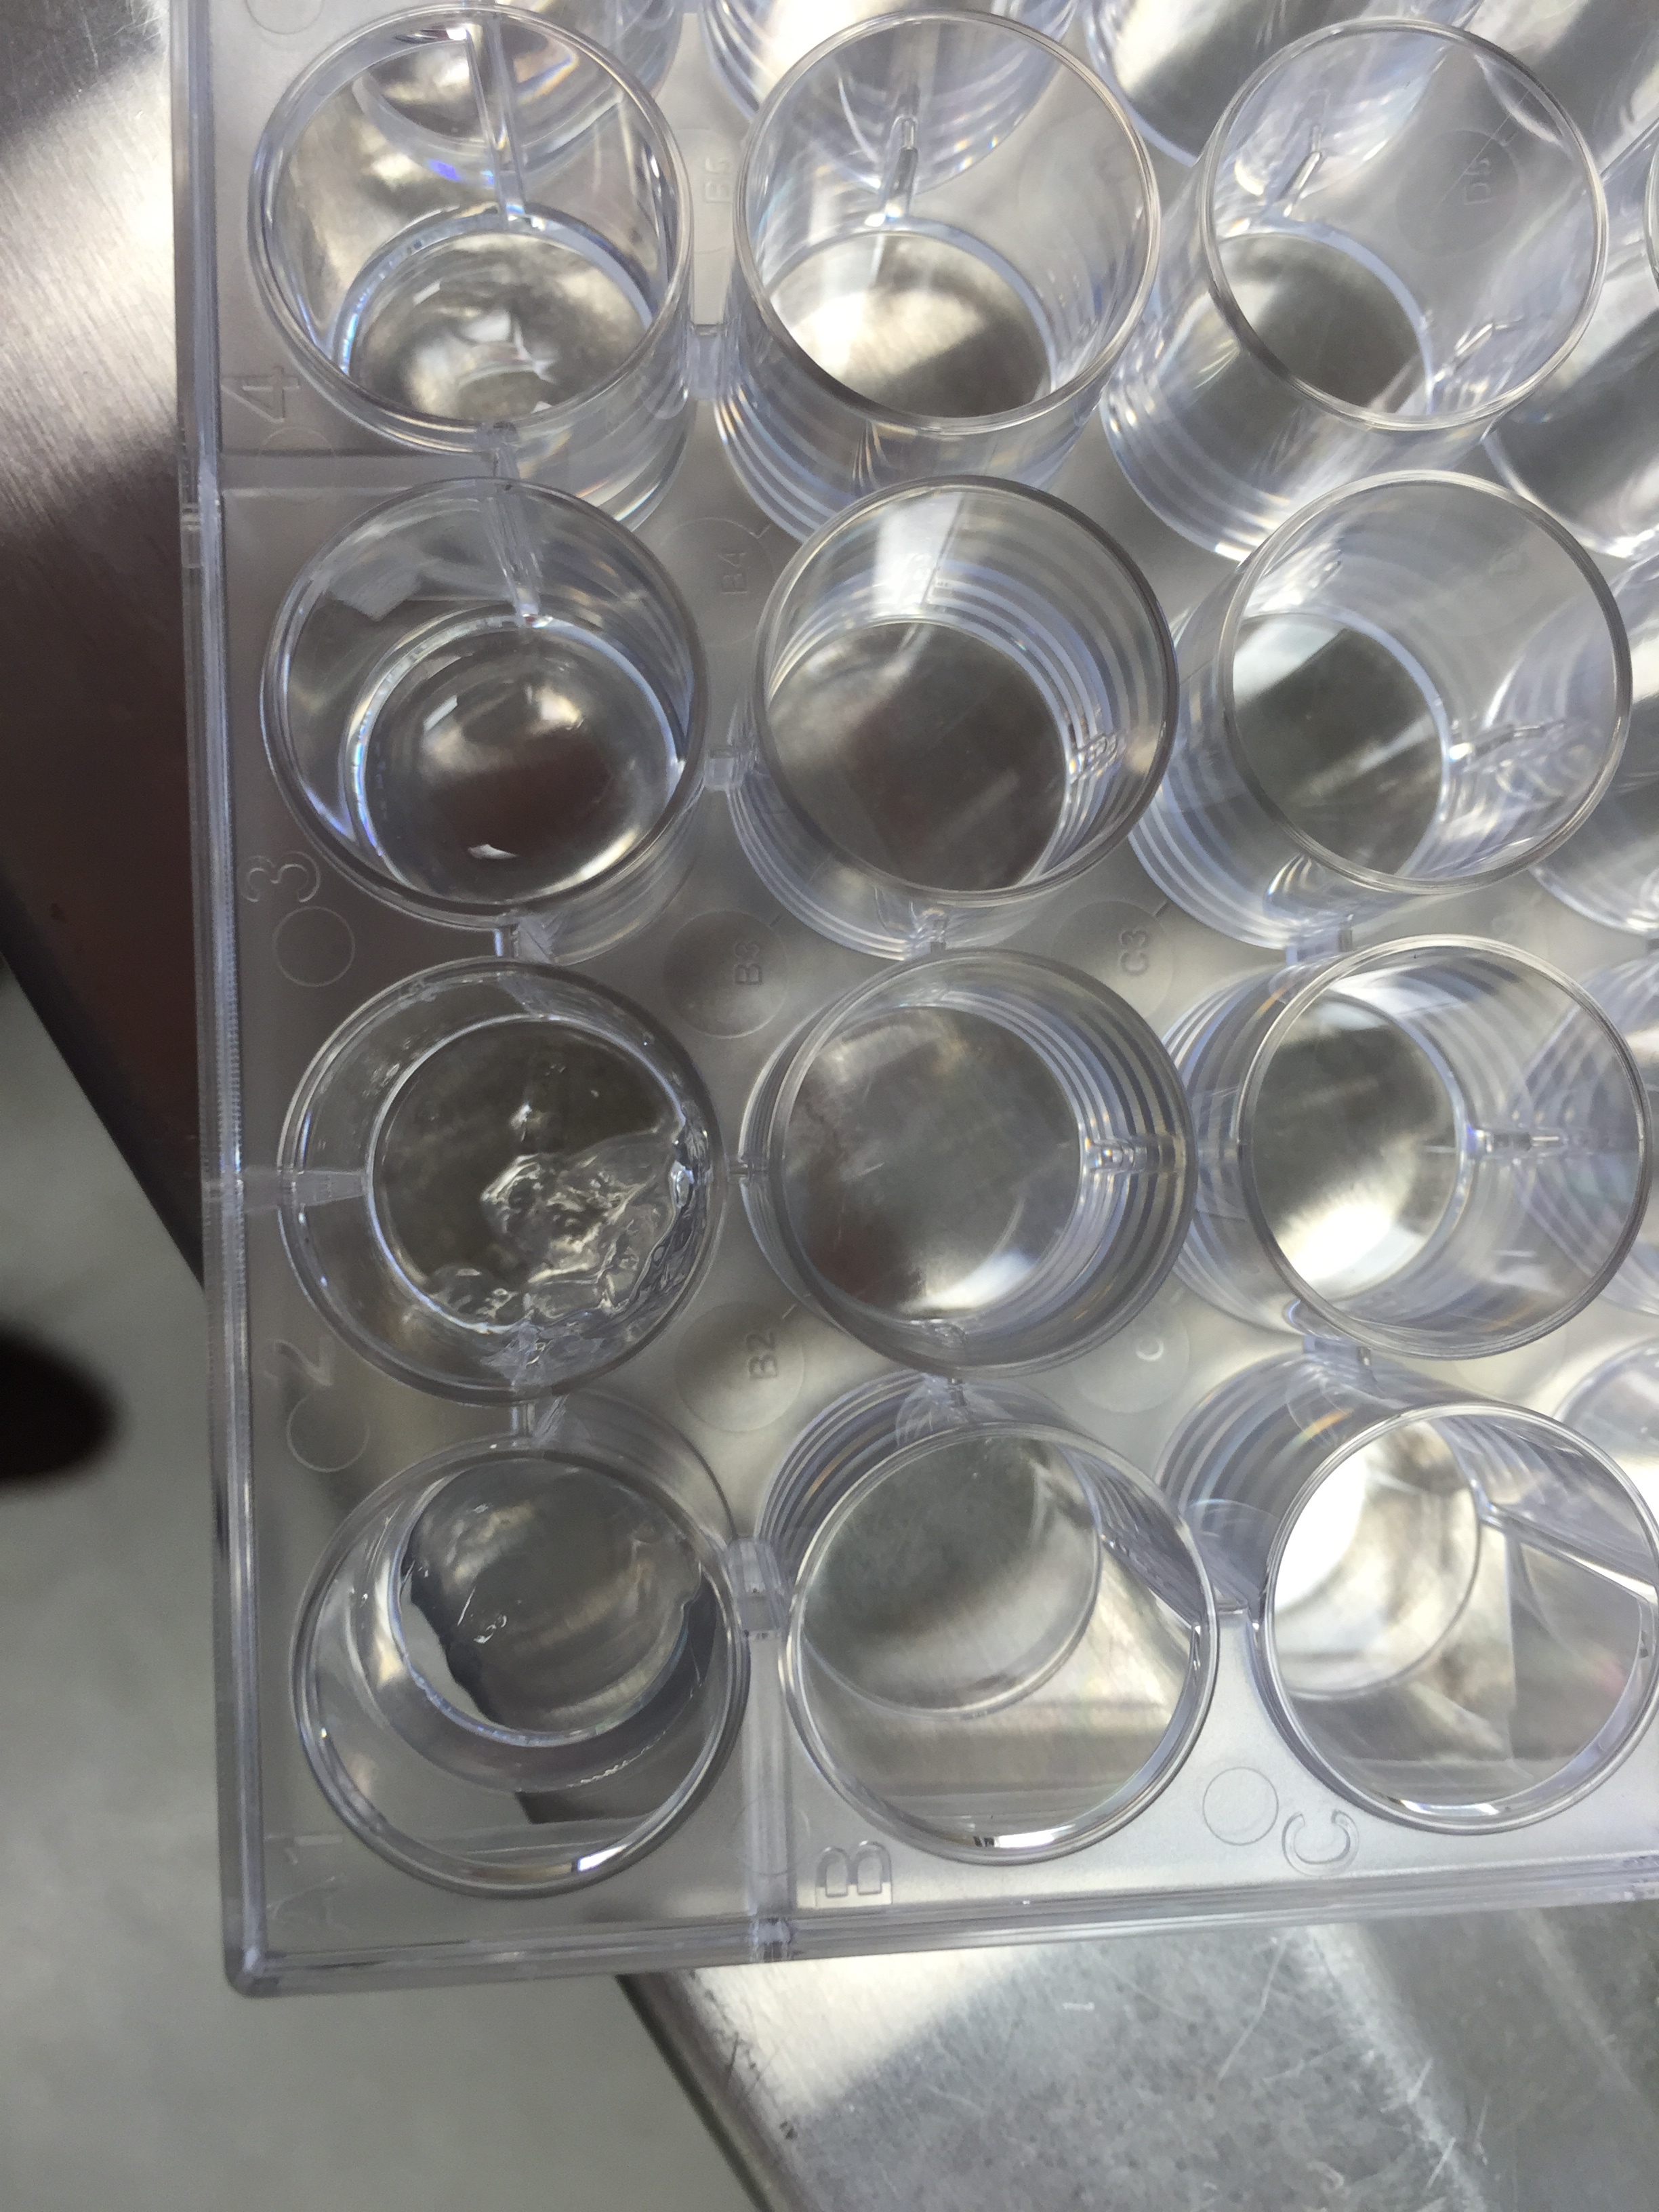
We mixed 2% sodium alginate with 102 mM calcium salt solution in the well, hoping it will form a nice disc. But nope! We got this.
Try to make alginate gel
An amorphous blob with uneven consistency!! After consulting with a gel expert in the lab, we were told that in order to make an alginate gel with a defined shape, we will need to construct a negative mold made of agarose and pour the alginate solution into the mold. Seal it up and soak the agarose mold with the alginate in it into a pool of calcium solution. The calcium ions will diffuse through the agarose gel and react with the sodium alginate inside. Then we will get nice alginate disc gels.
Considering the complexity of making alginate gels, we decided to use agarose to make our disc constructs. Although we have to heat the agarose solution to a boiling temperature, we can choose to use a low-melting agarose. Like this one!
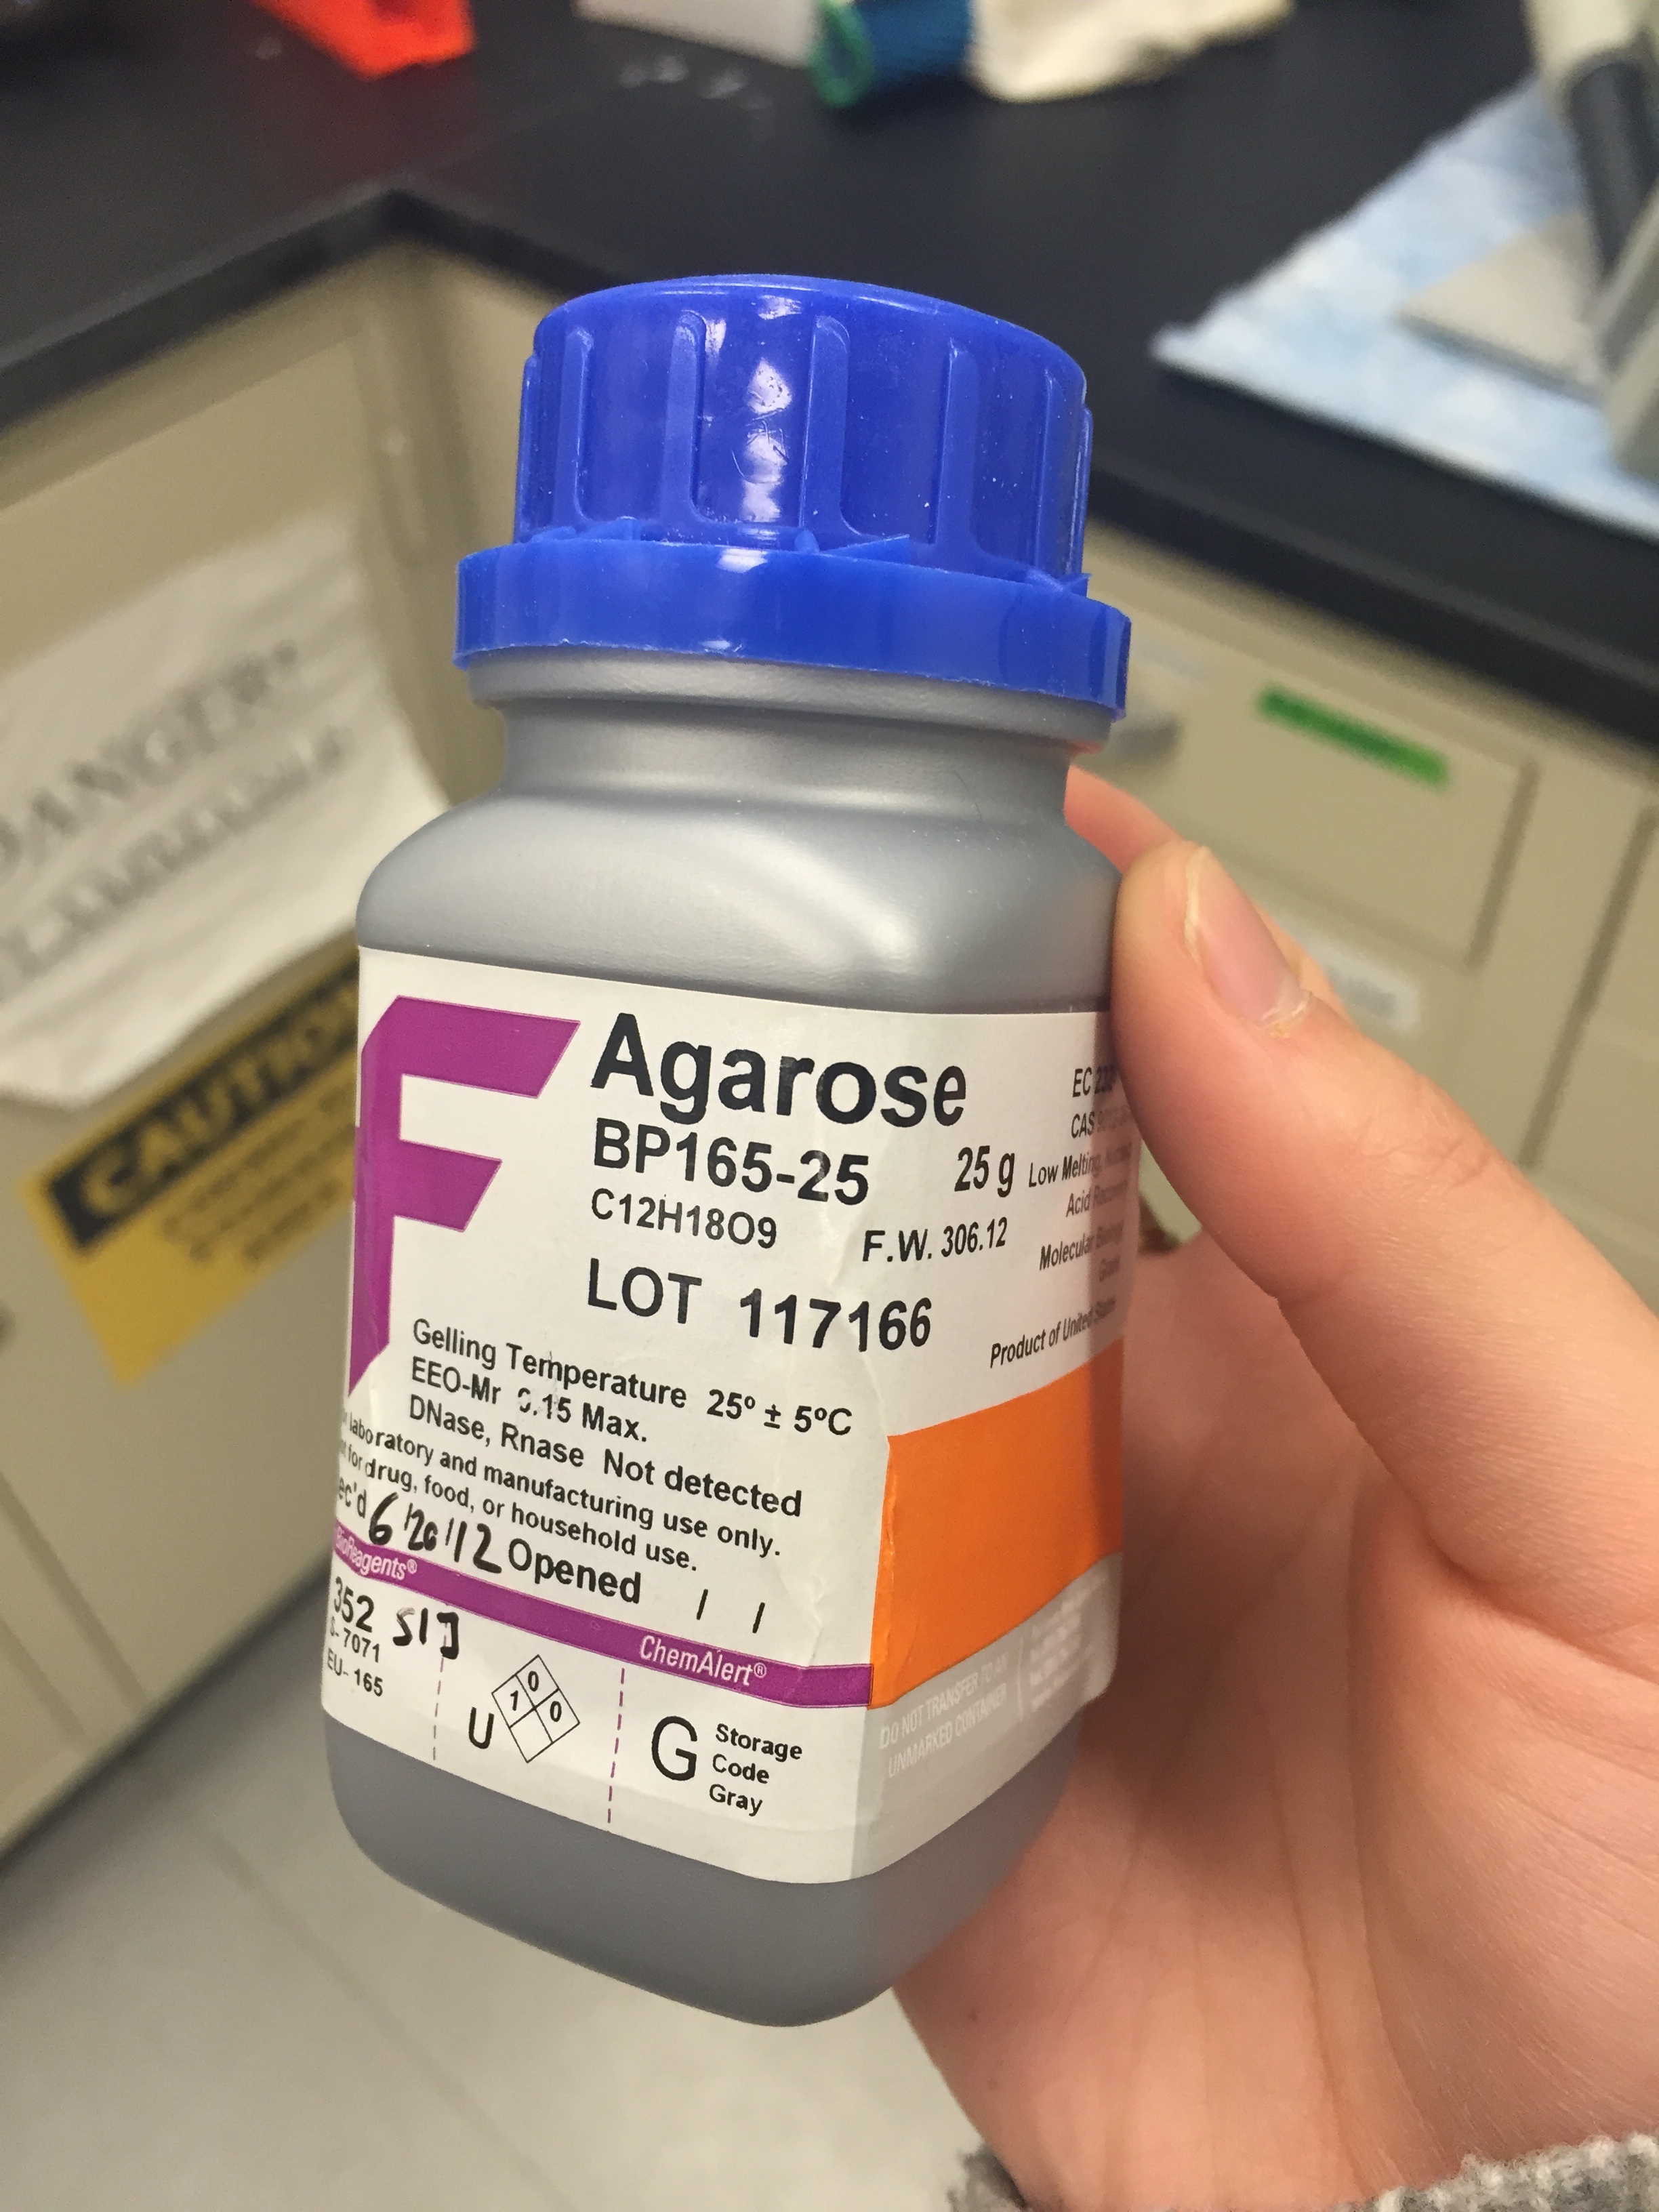
Low-melting agarose
Its gelling temperature is also pretty low, much lower than 37 degrees celsius. GREAT! So we wouldn’t kills cells by seeding them with hot agarose solution!
Next, we need to figure out how to make round gel discs to be compressed by our bioreactor.
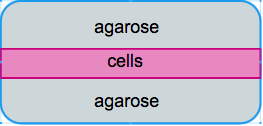
Gel sandwich construct
We initially designed the the gel constructs to be consisting of two layers agarose gels with a thin layer of cells in the middle. Ideally this could facilitate the confocal imaging process as all cells can be captured in one layer and cells are more accessible to the surrounding media. However, our approach to make the sandwich construct failed on multiple levels!
First, we encountered problem of making gels using the tools we designed.
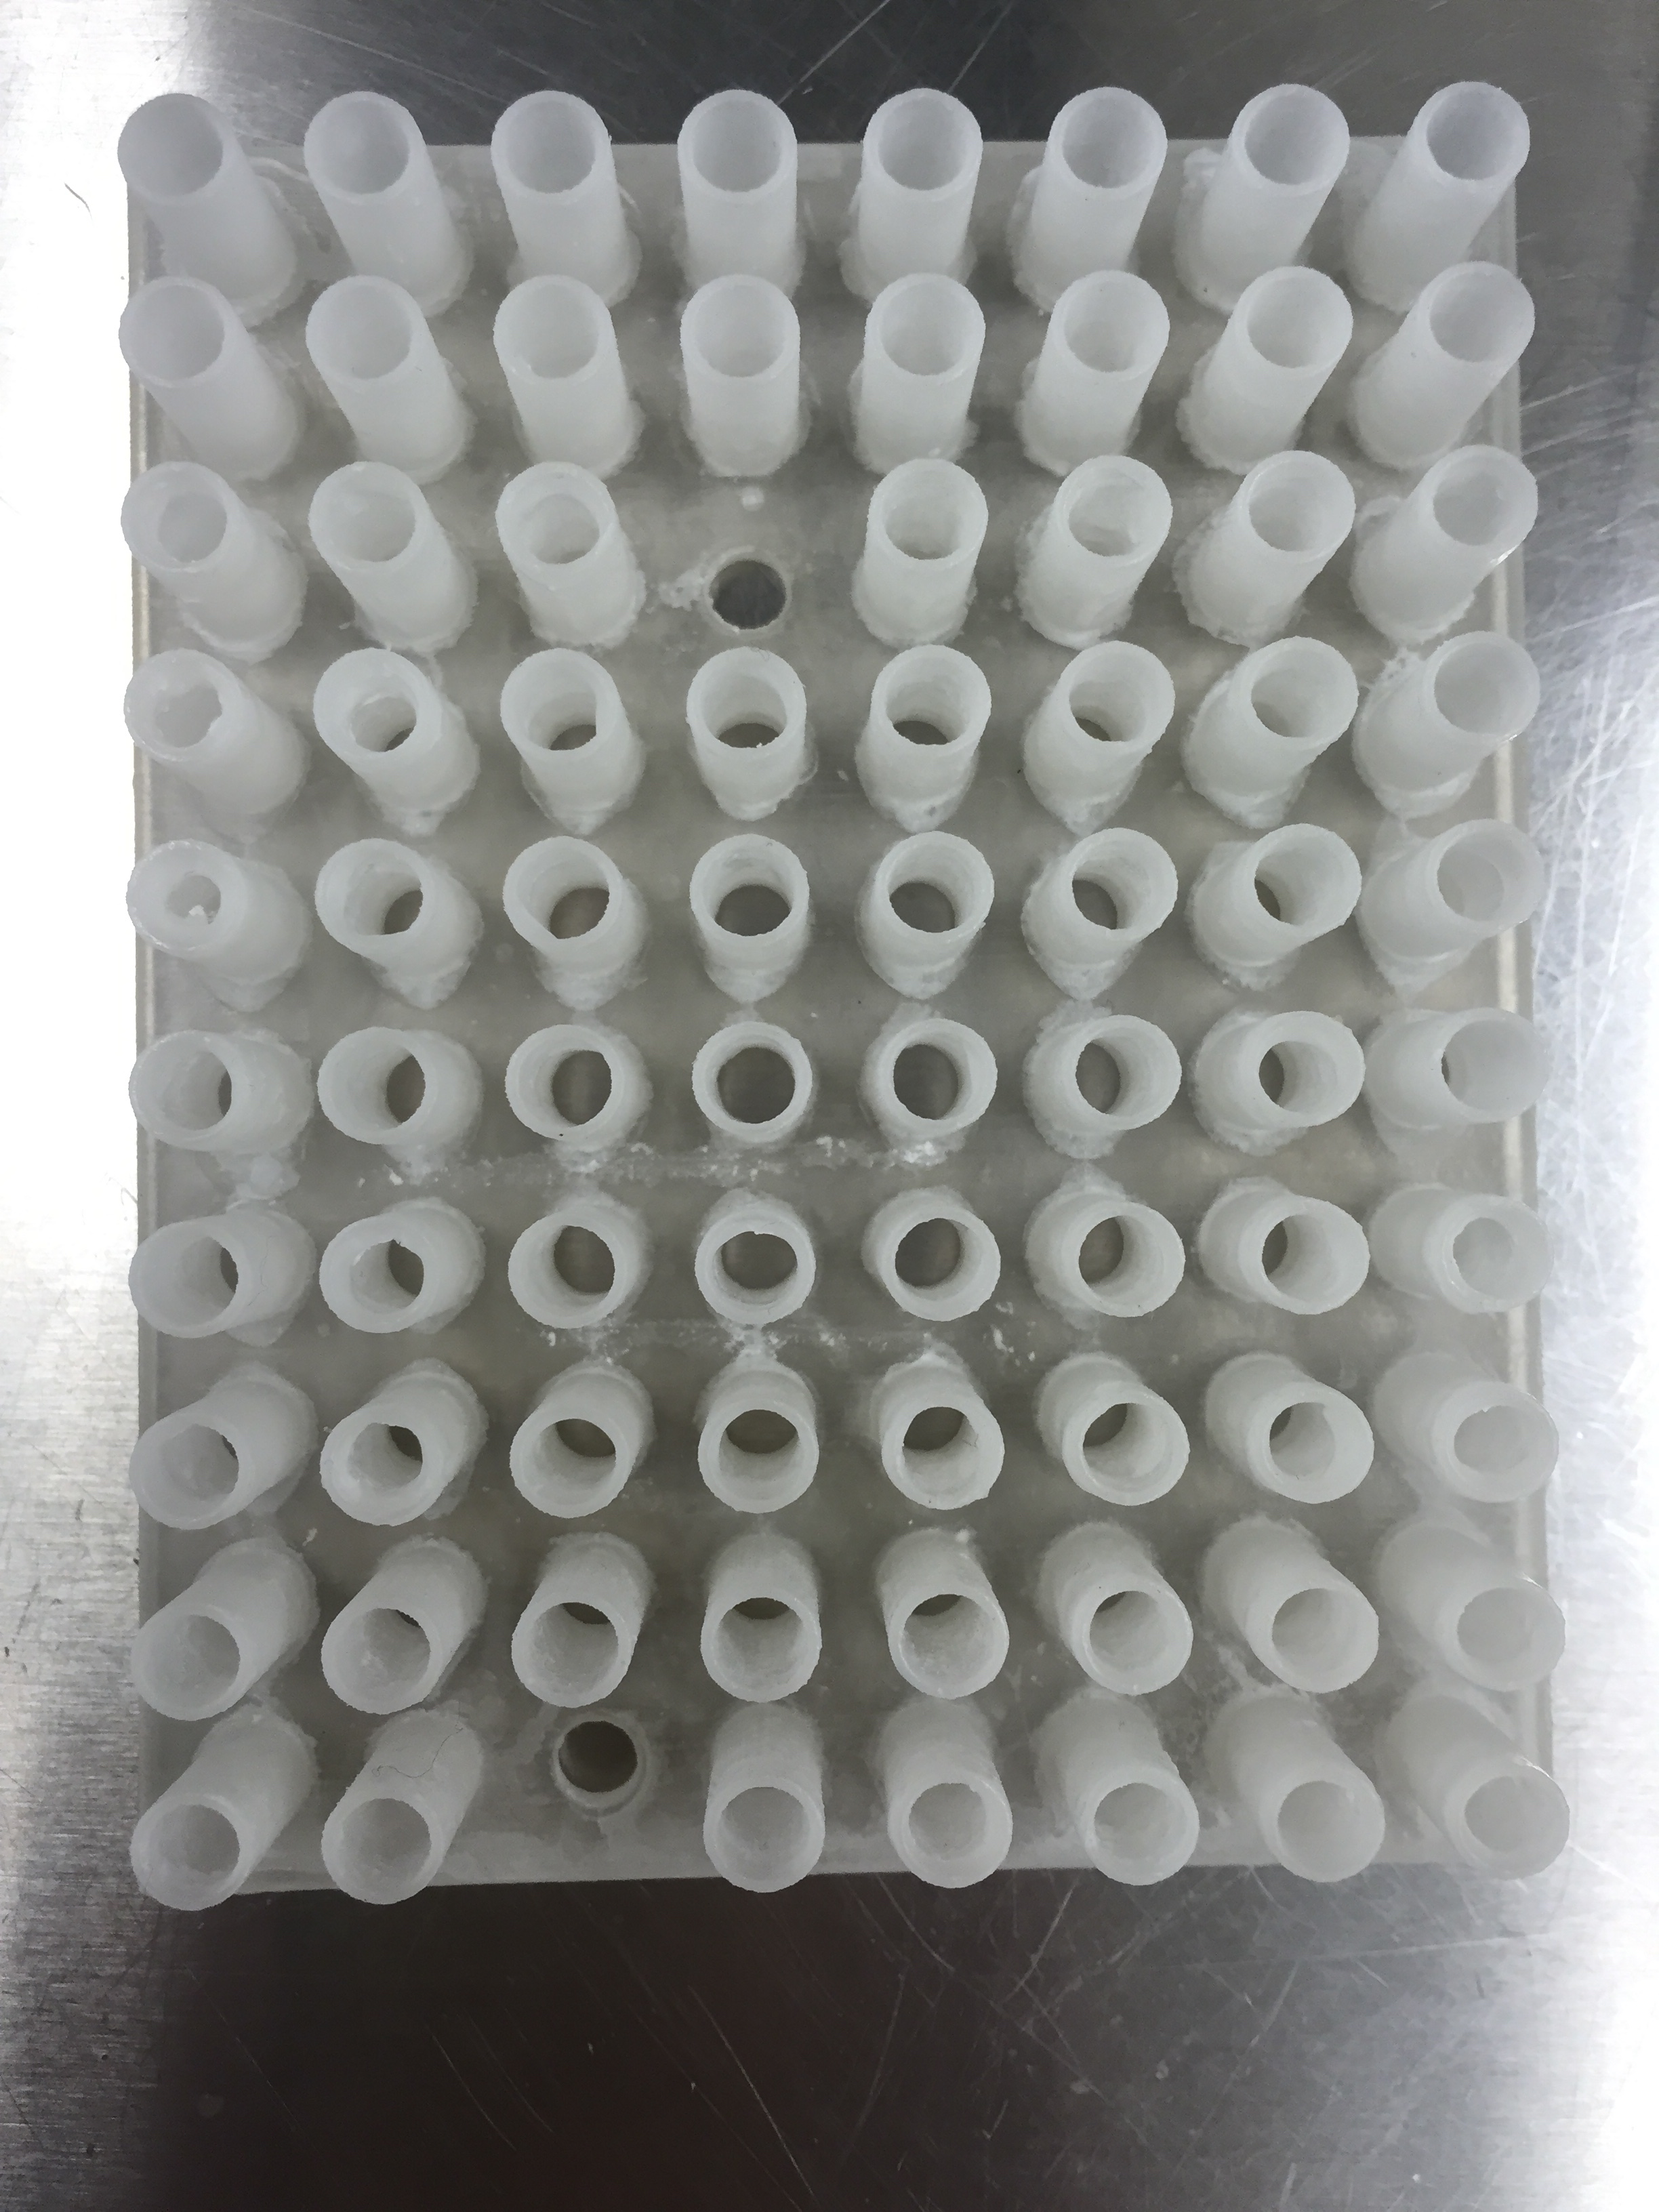
The GelMolder

The GelPoker
We designed the gel molder (3-D printed) that was supposed to cut 96 gel discs and transfer them to the well plate. And then we would use the poker to push out the gel discs through the holes of the molder. This way we could make the gel constructs in a high-throughput fashion.
However, the gel molder we 3-D printed was not picking up the discs from the gel slab. And the length of the plungers of the poker was too short that it could not reach to the other end of the hollow wells and thus could not touch the 3 mm height gels discs.
As a result, we had to use a biopsy punch to punch the gel slab 96 times and use a tweezer to pick up the discs and transfer them into the well plate! This step really needs to be automated in the future, otherwise it defeats the whole purpose of making a “high-throughput” bioreactor.

Make a punch
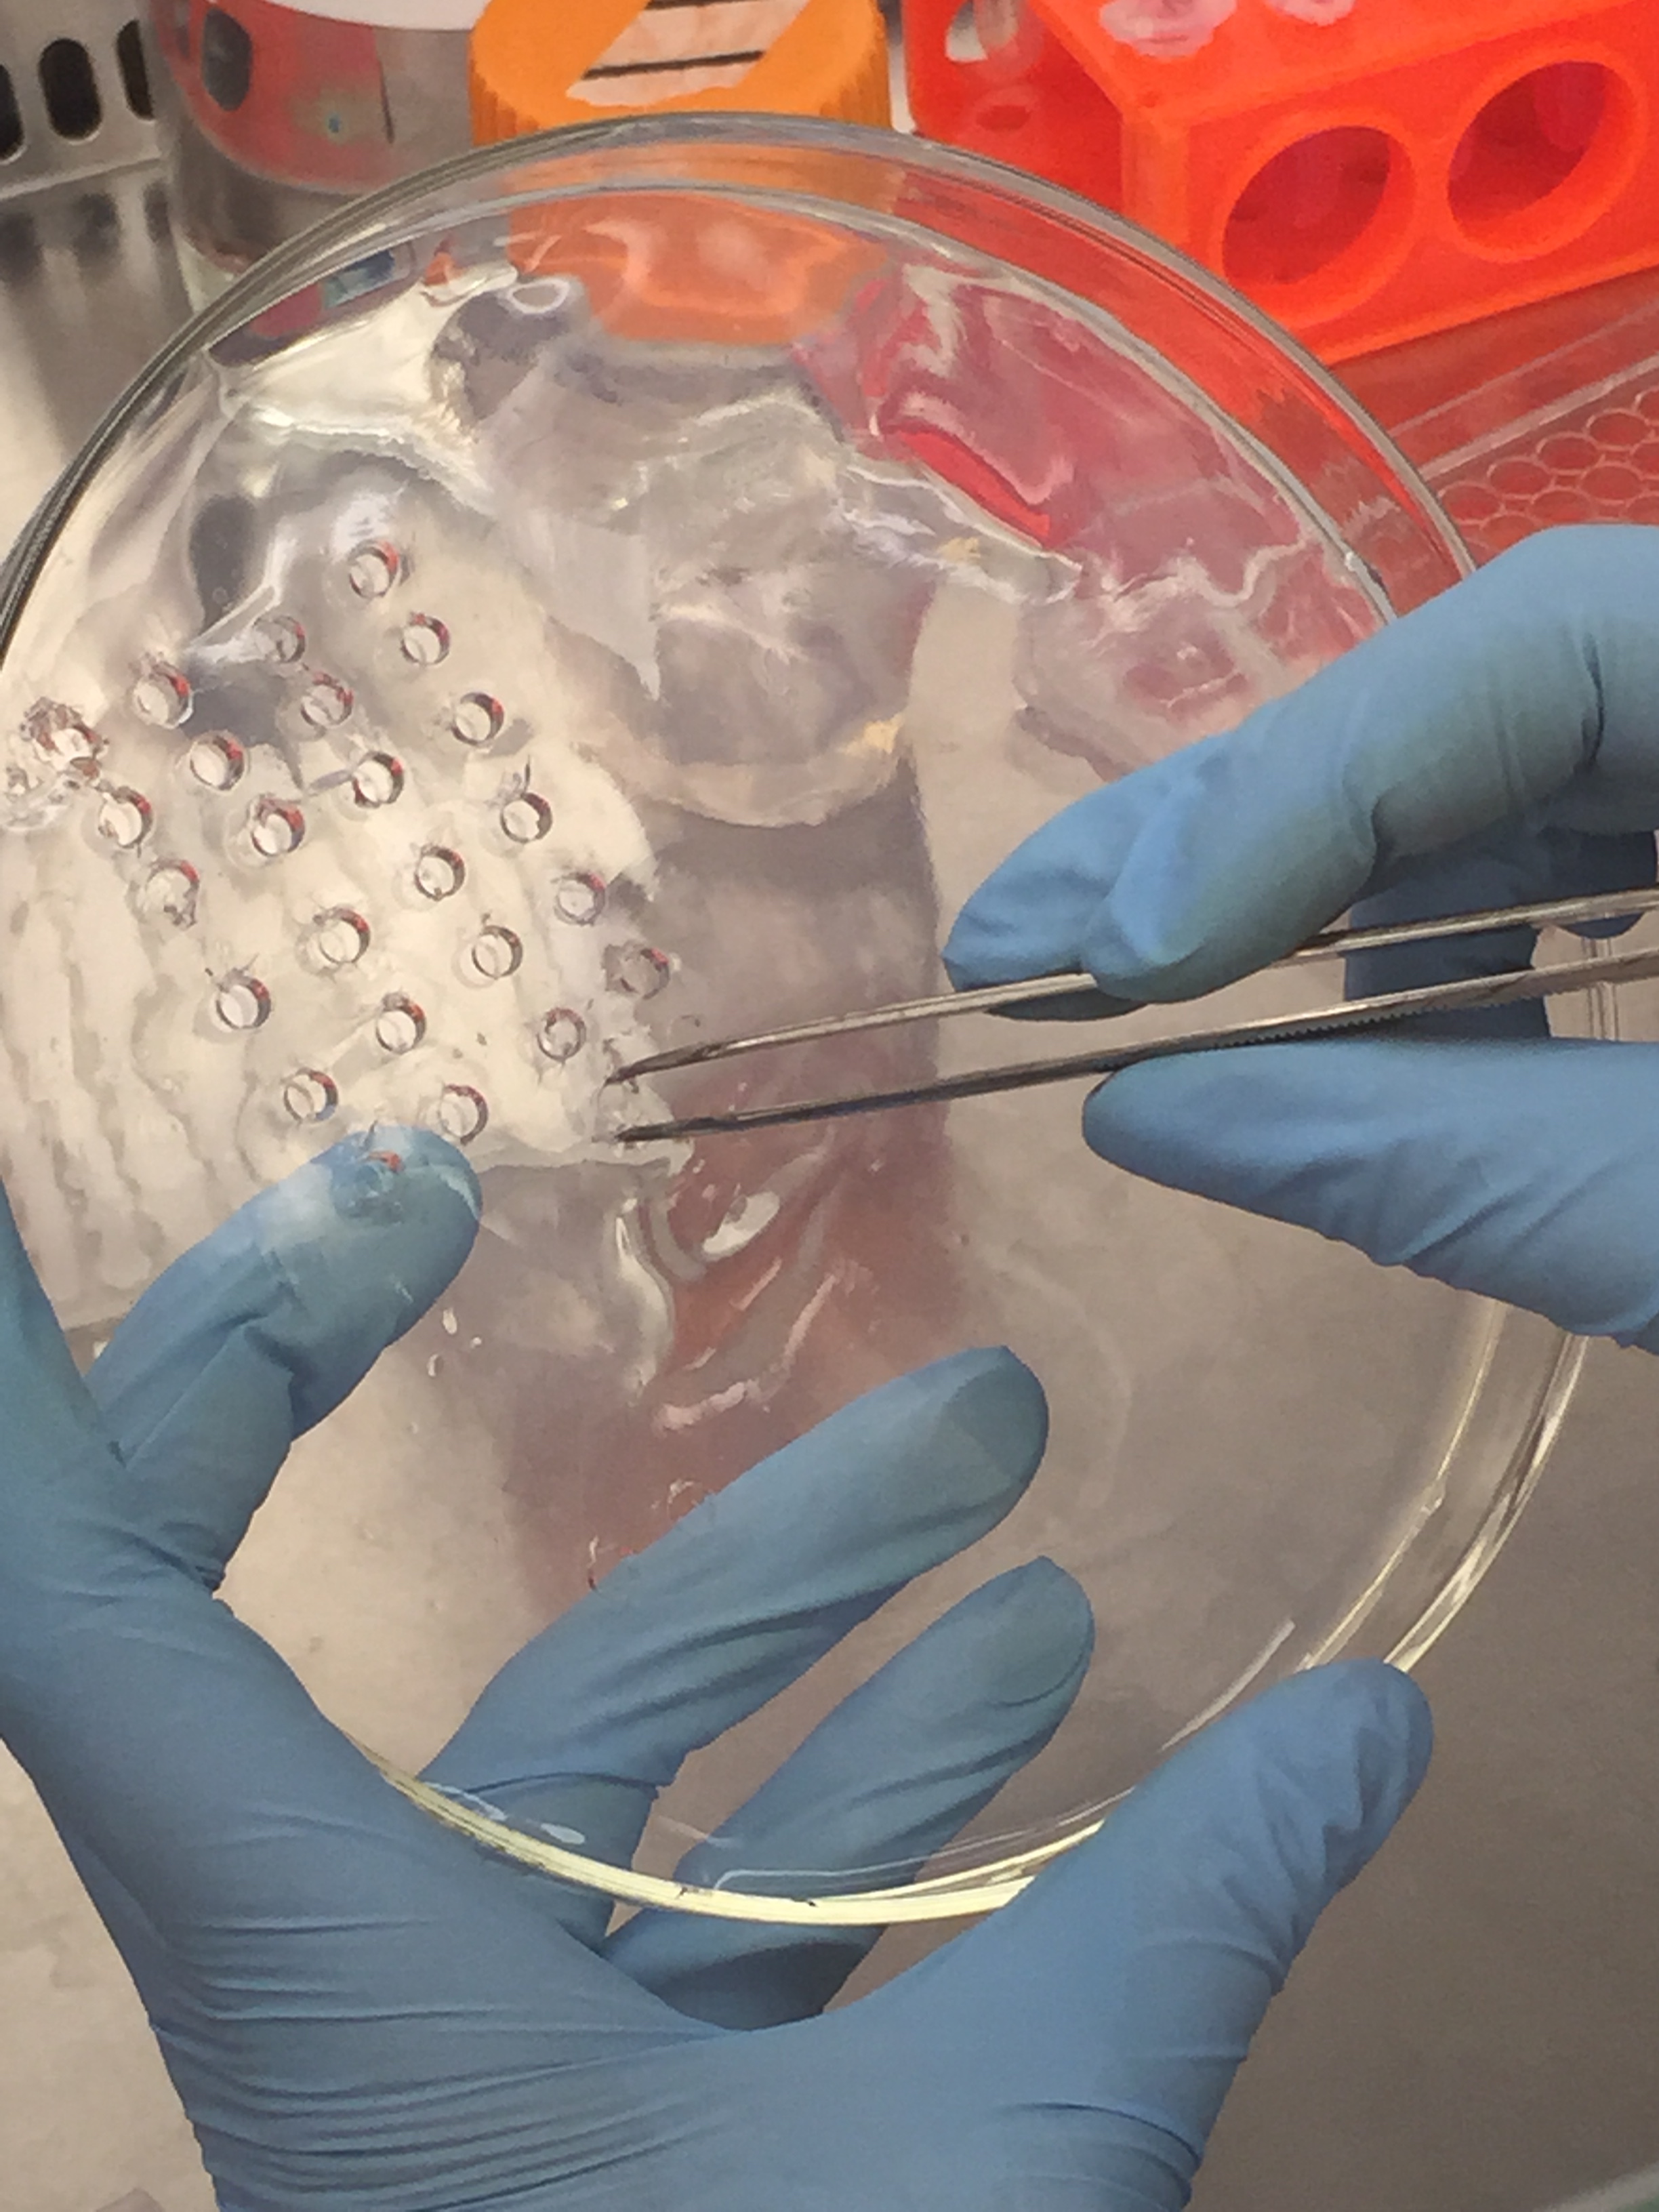
Pick up the gel disc with a tweezer
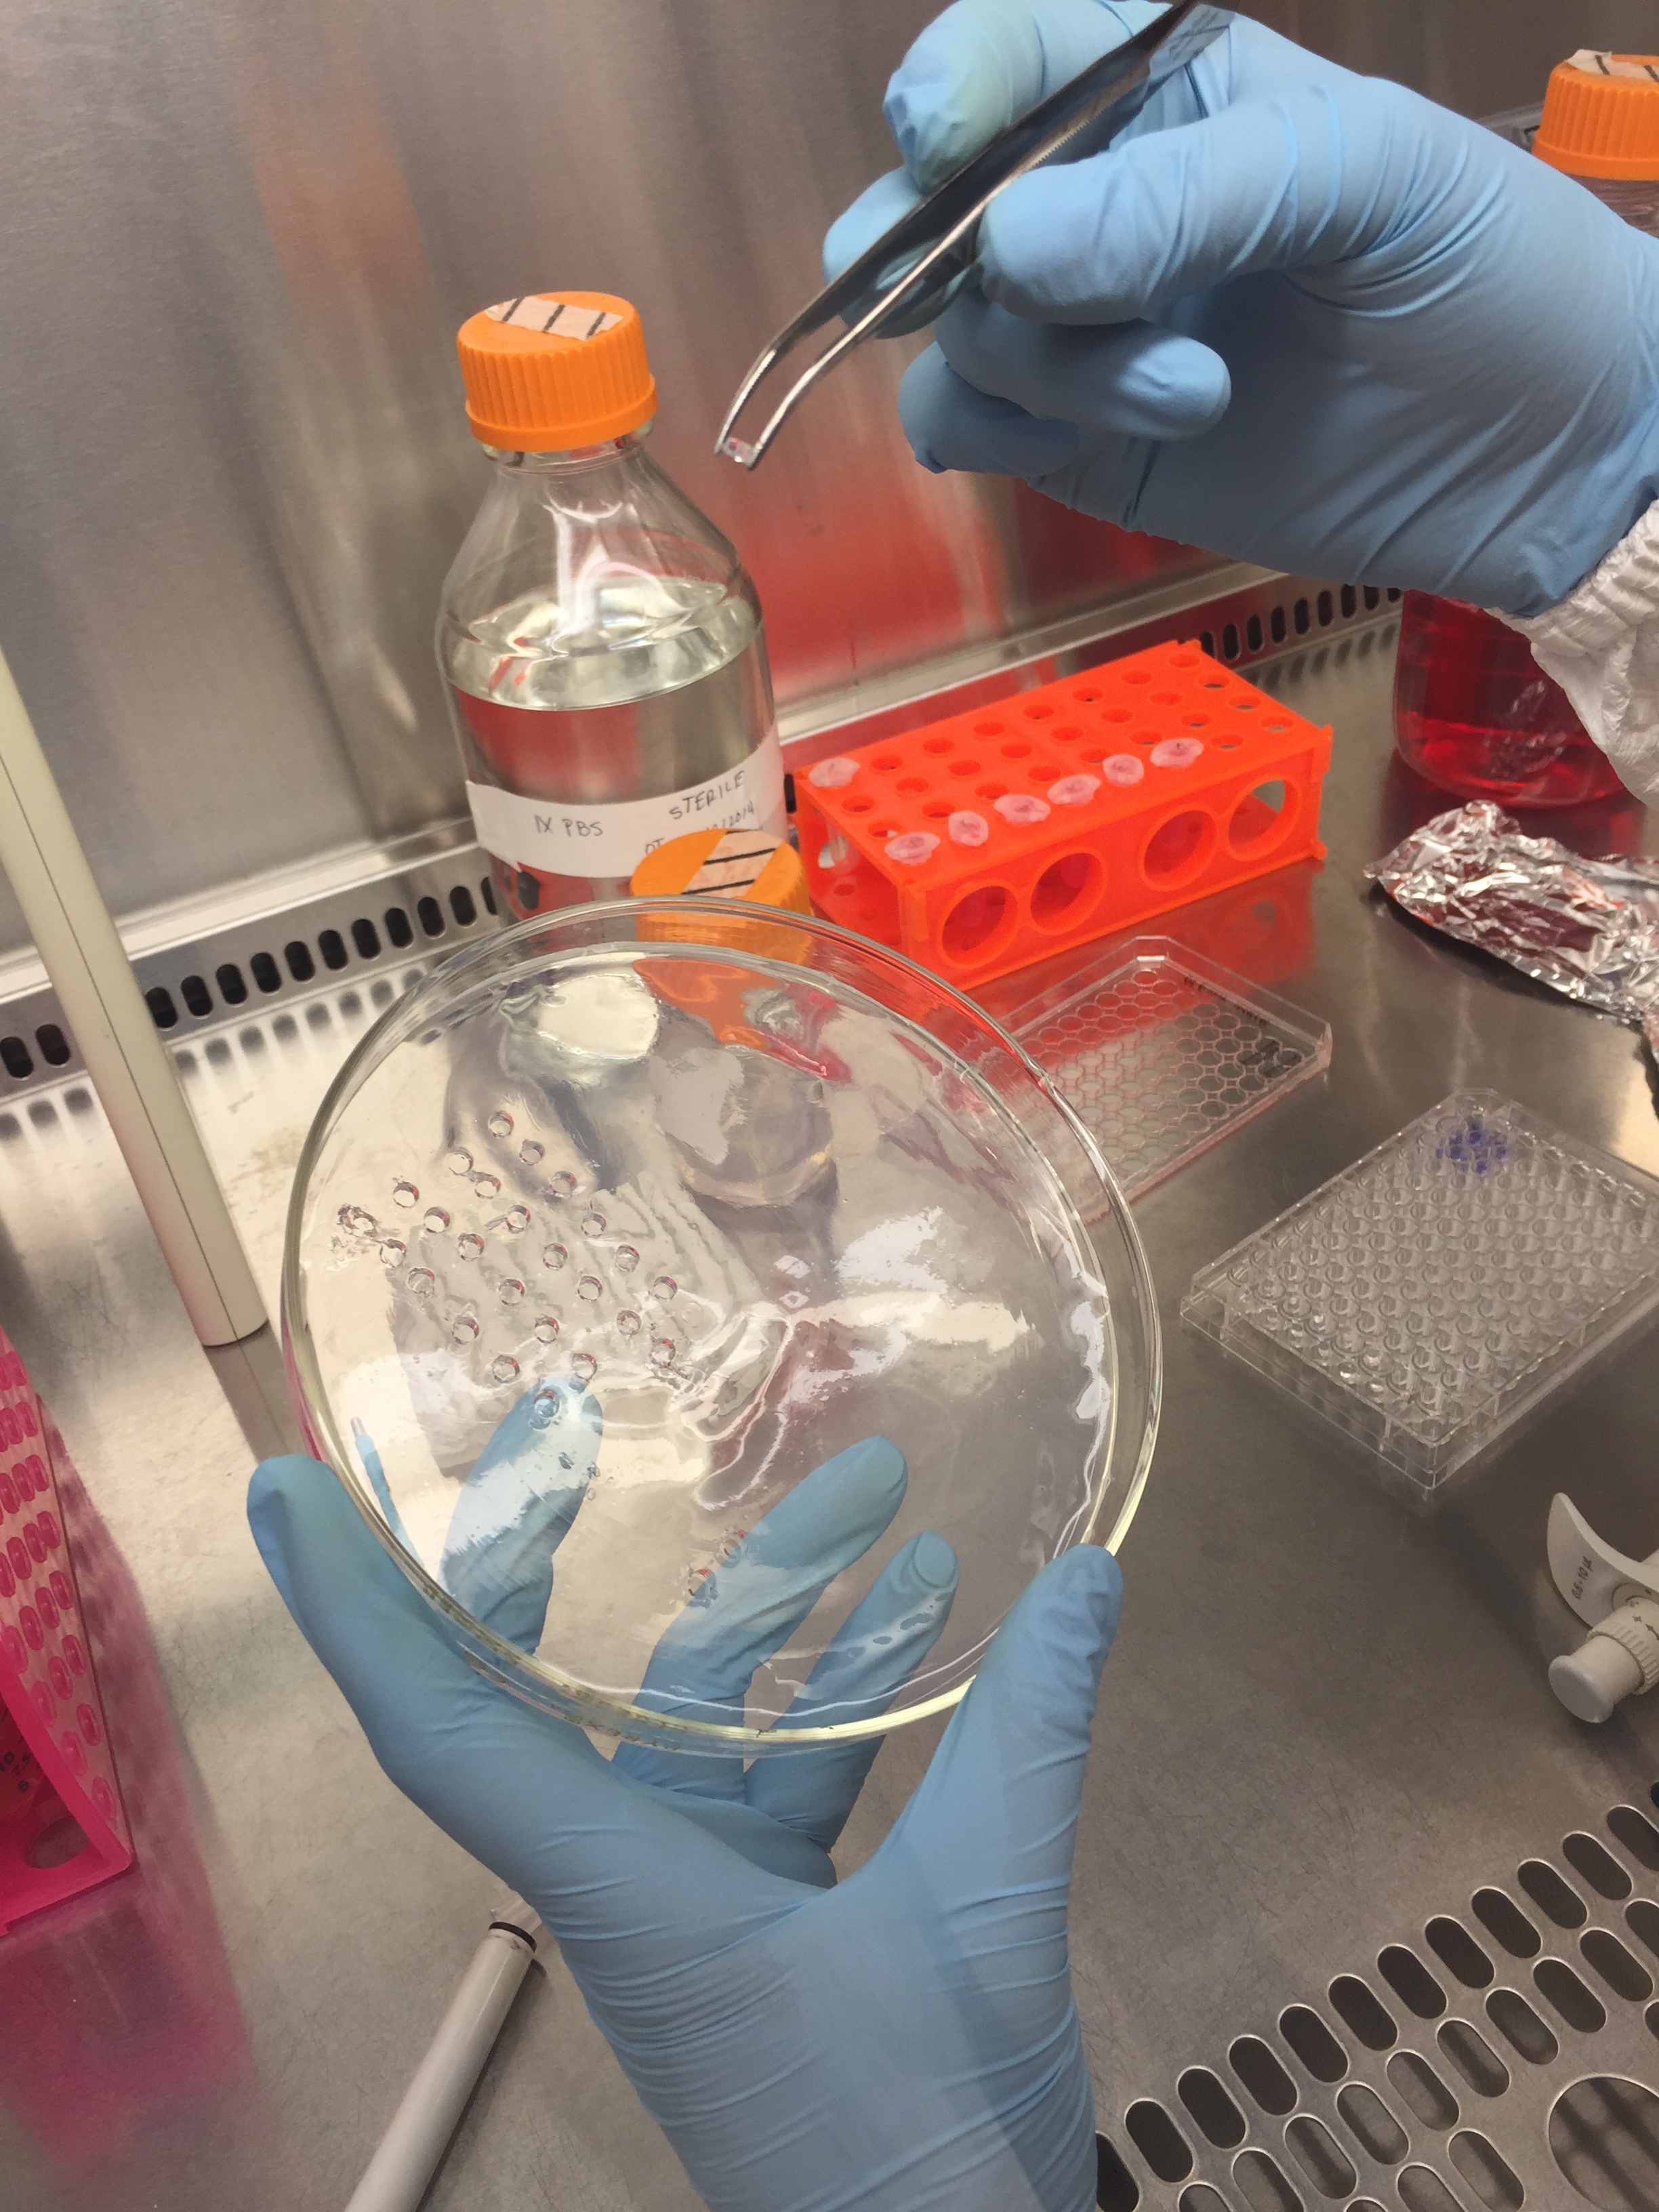
In the process of transferring gel constructs. BE VERY CAREFUL!
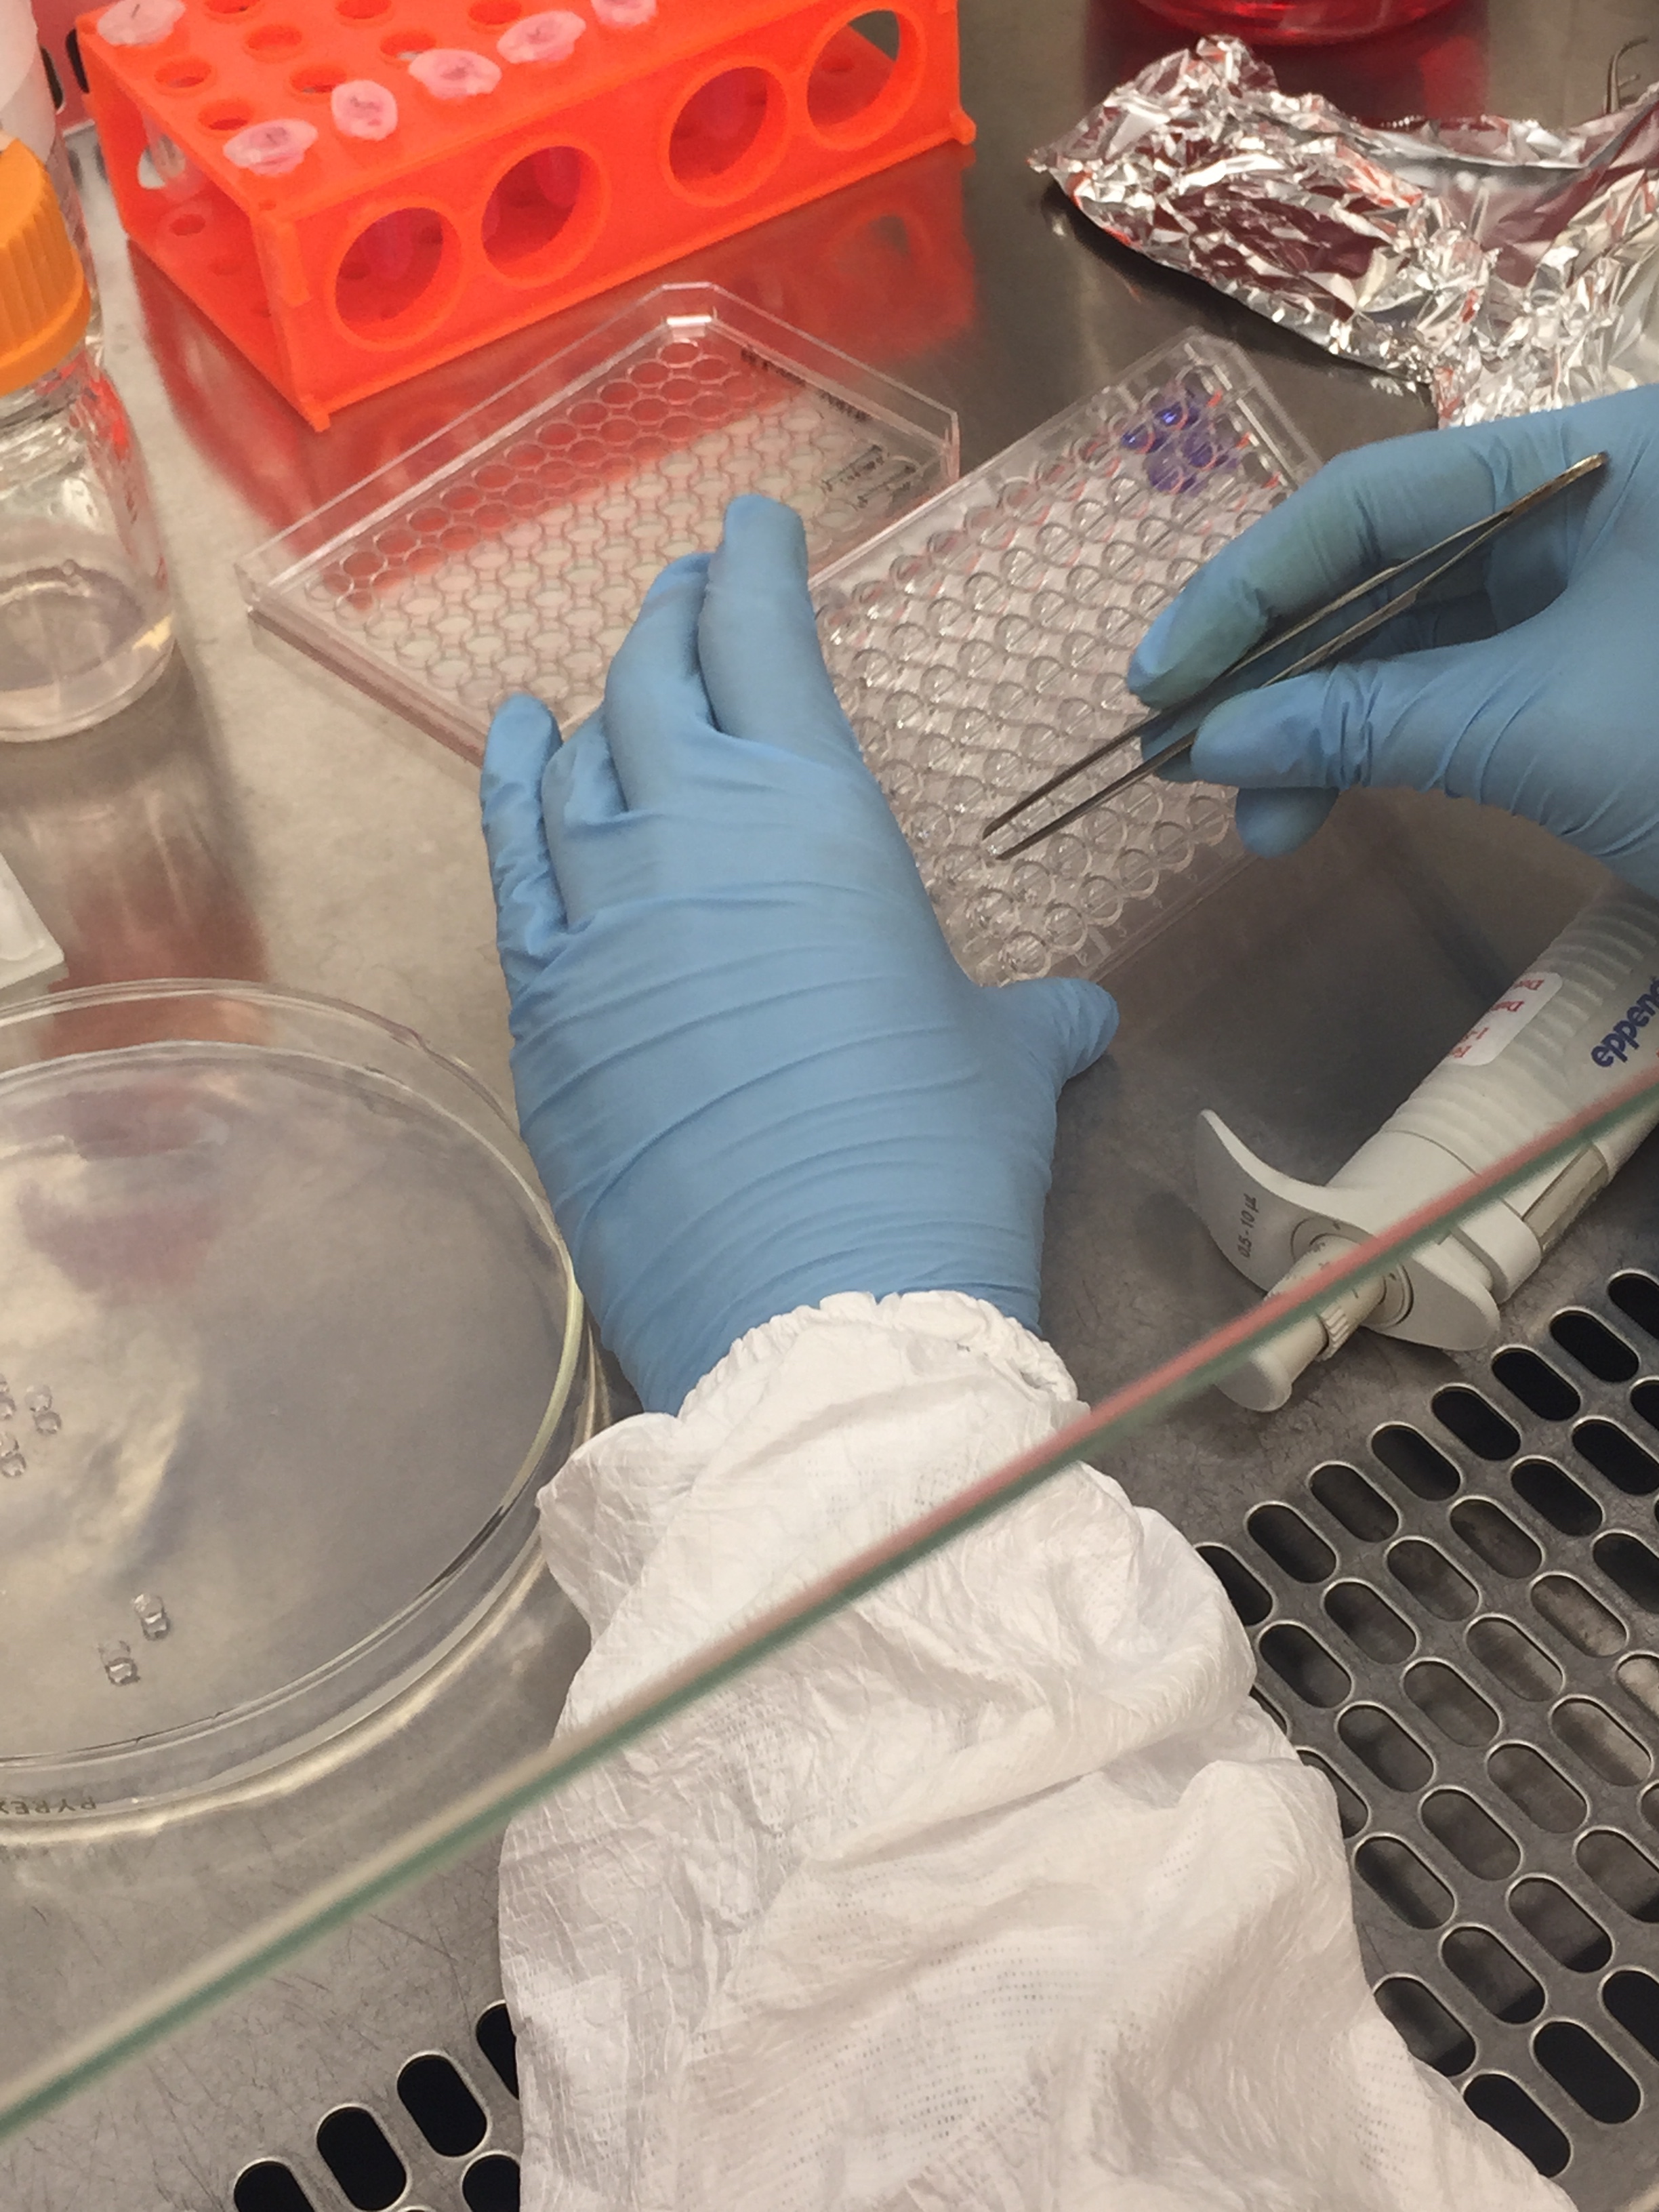
Good luck try putting the gel construct into the center of the wells!
Another problem with making a gel sandwich is the uneven gel surface. We poured a calculated amount of agarose on to a petridish to make the desired height and waited for it to gel before we added a layer of cells. Without any constraints on the top, the top surface can assume any form. It can bulge, distort and disturb. Not cool. It led to the formation of discs of uneven height. Yuk!
What’s more, as we added the second layer of gel and tried to pick out the sandwich construct by the tweezer, the two layers of gels slipped apart!!! NIGHTMARE!!!!
At this point, it is clear that the gel sandwich approach was not the best way to make little gel discs. And we really needed to figure out a way to make flat, nice gel slabs!
As we are smart, smart students, we quickly found another way to make perfectly flat gel slabs!
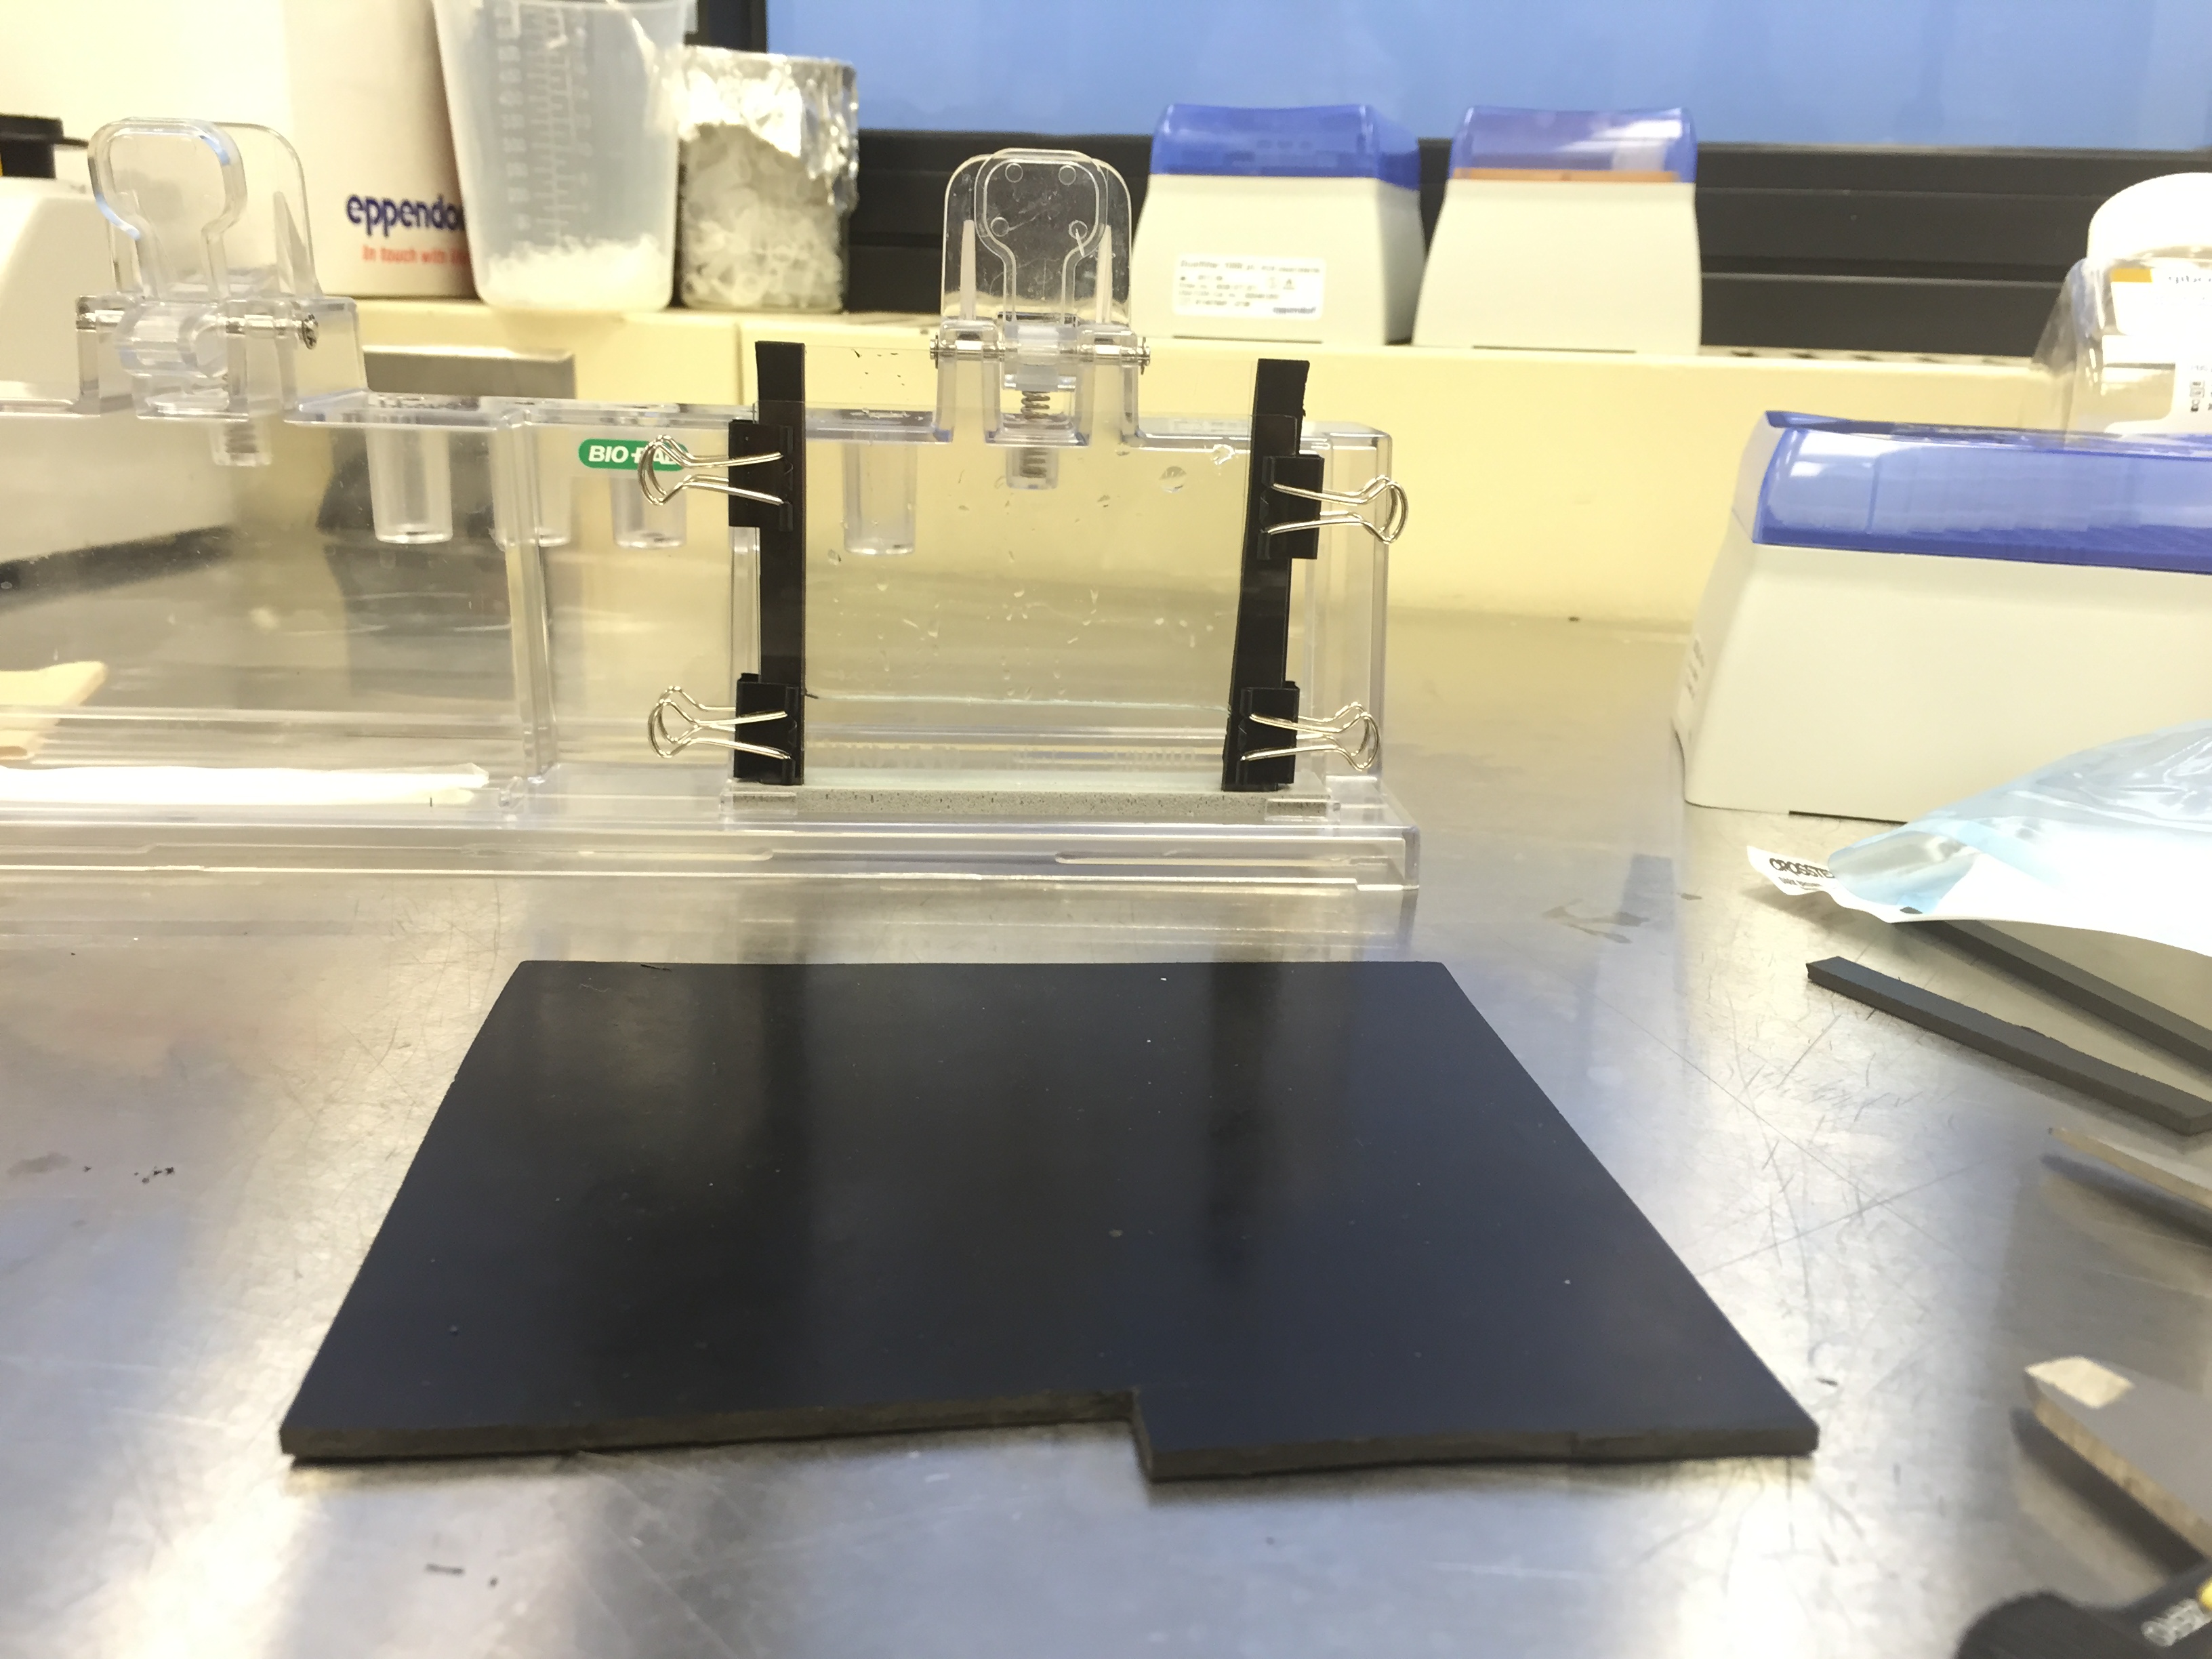
Make gel slab using Western Blot!
As shown in the picture, we used two pieces of glass separated by a spacer (the black rubber piece) of 2.8 mm thickness to make gel slabs. The thickness of the spacer is the desired height of our gel discs. By putting the glasses onto a stand that is usually used to make gels for Western blot, we were able to seal one end of the glass pieces and pour the agarose solution from the top. After removing the glass slides when the gel solidified, we got a super nice gel slab! Tata….
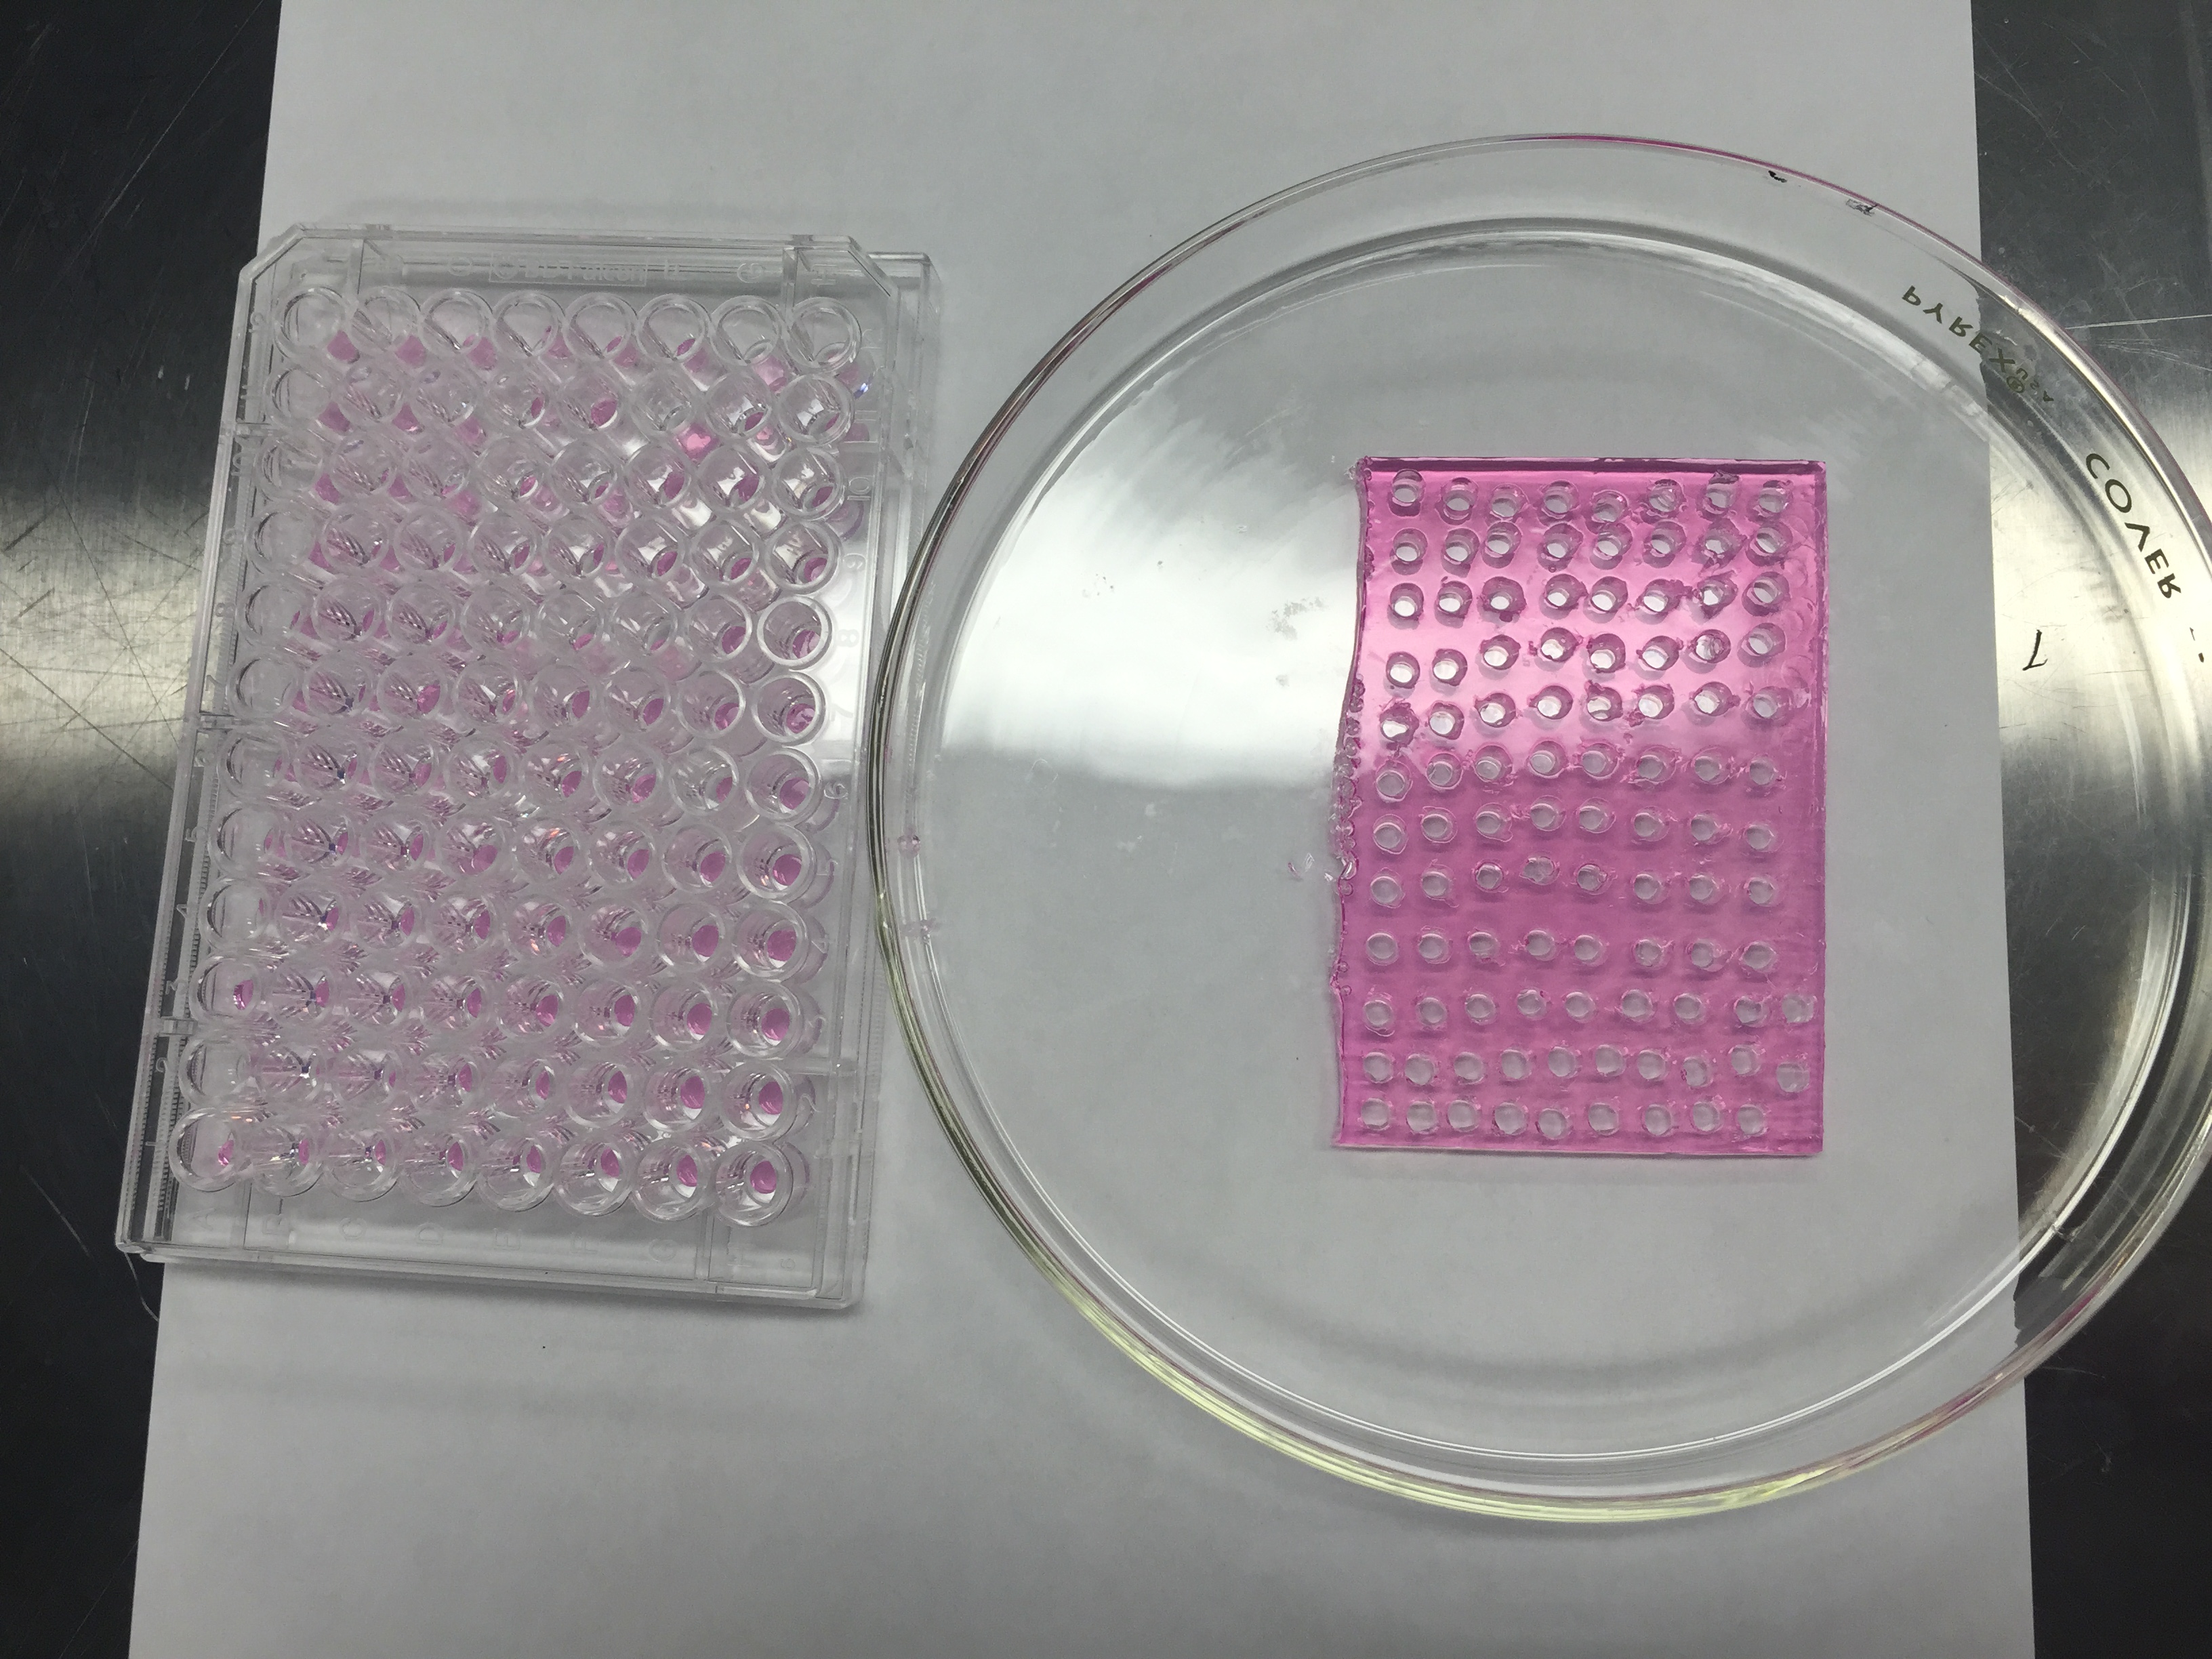
Perfectly flat gel slab!!
We first heated up a 4% agarose solution to its boiling temperature. After it’s cooled down below body temperature,we mixed it with an equal volume of tissue culture growth medium (pink) with a certain cell concentration to make an agarose solution with a final concentration of 2%. Then we loaded our agarose solution seeded with cells on to the gel making device and wait for it to solidify. We measured the actual height of the gel disc to be 2.57 mm, a little less than the spacer due to the force applied by the clamps.

Measuring the actual height of our gel construct!
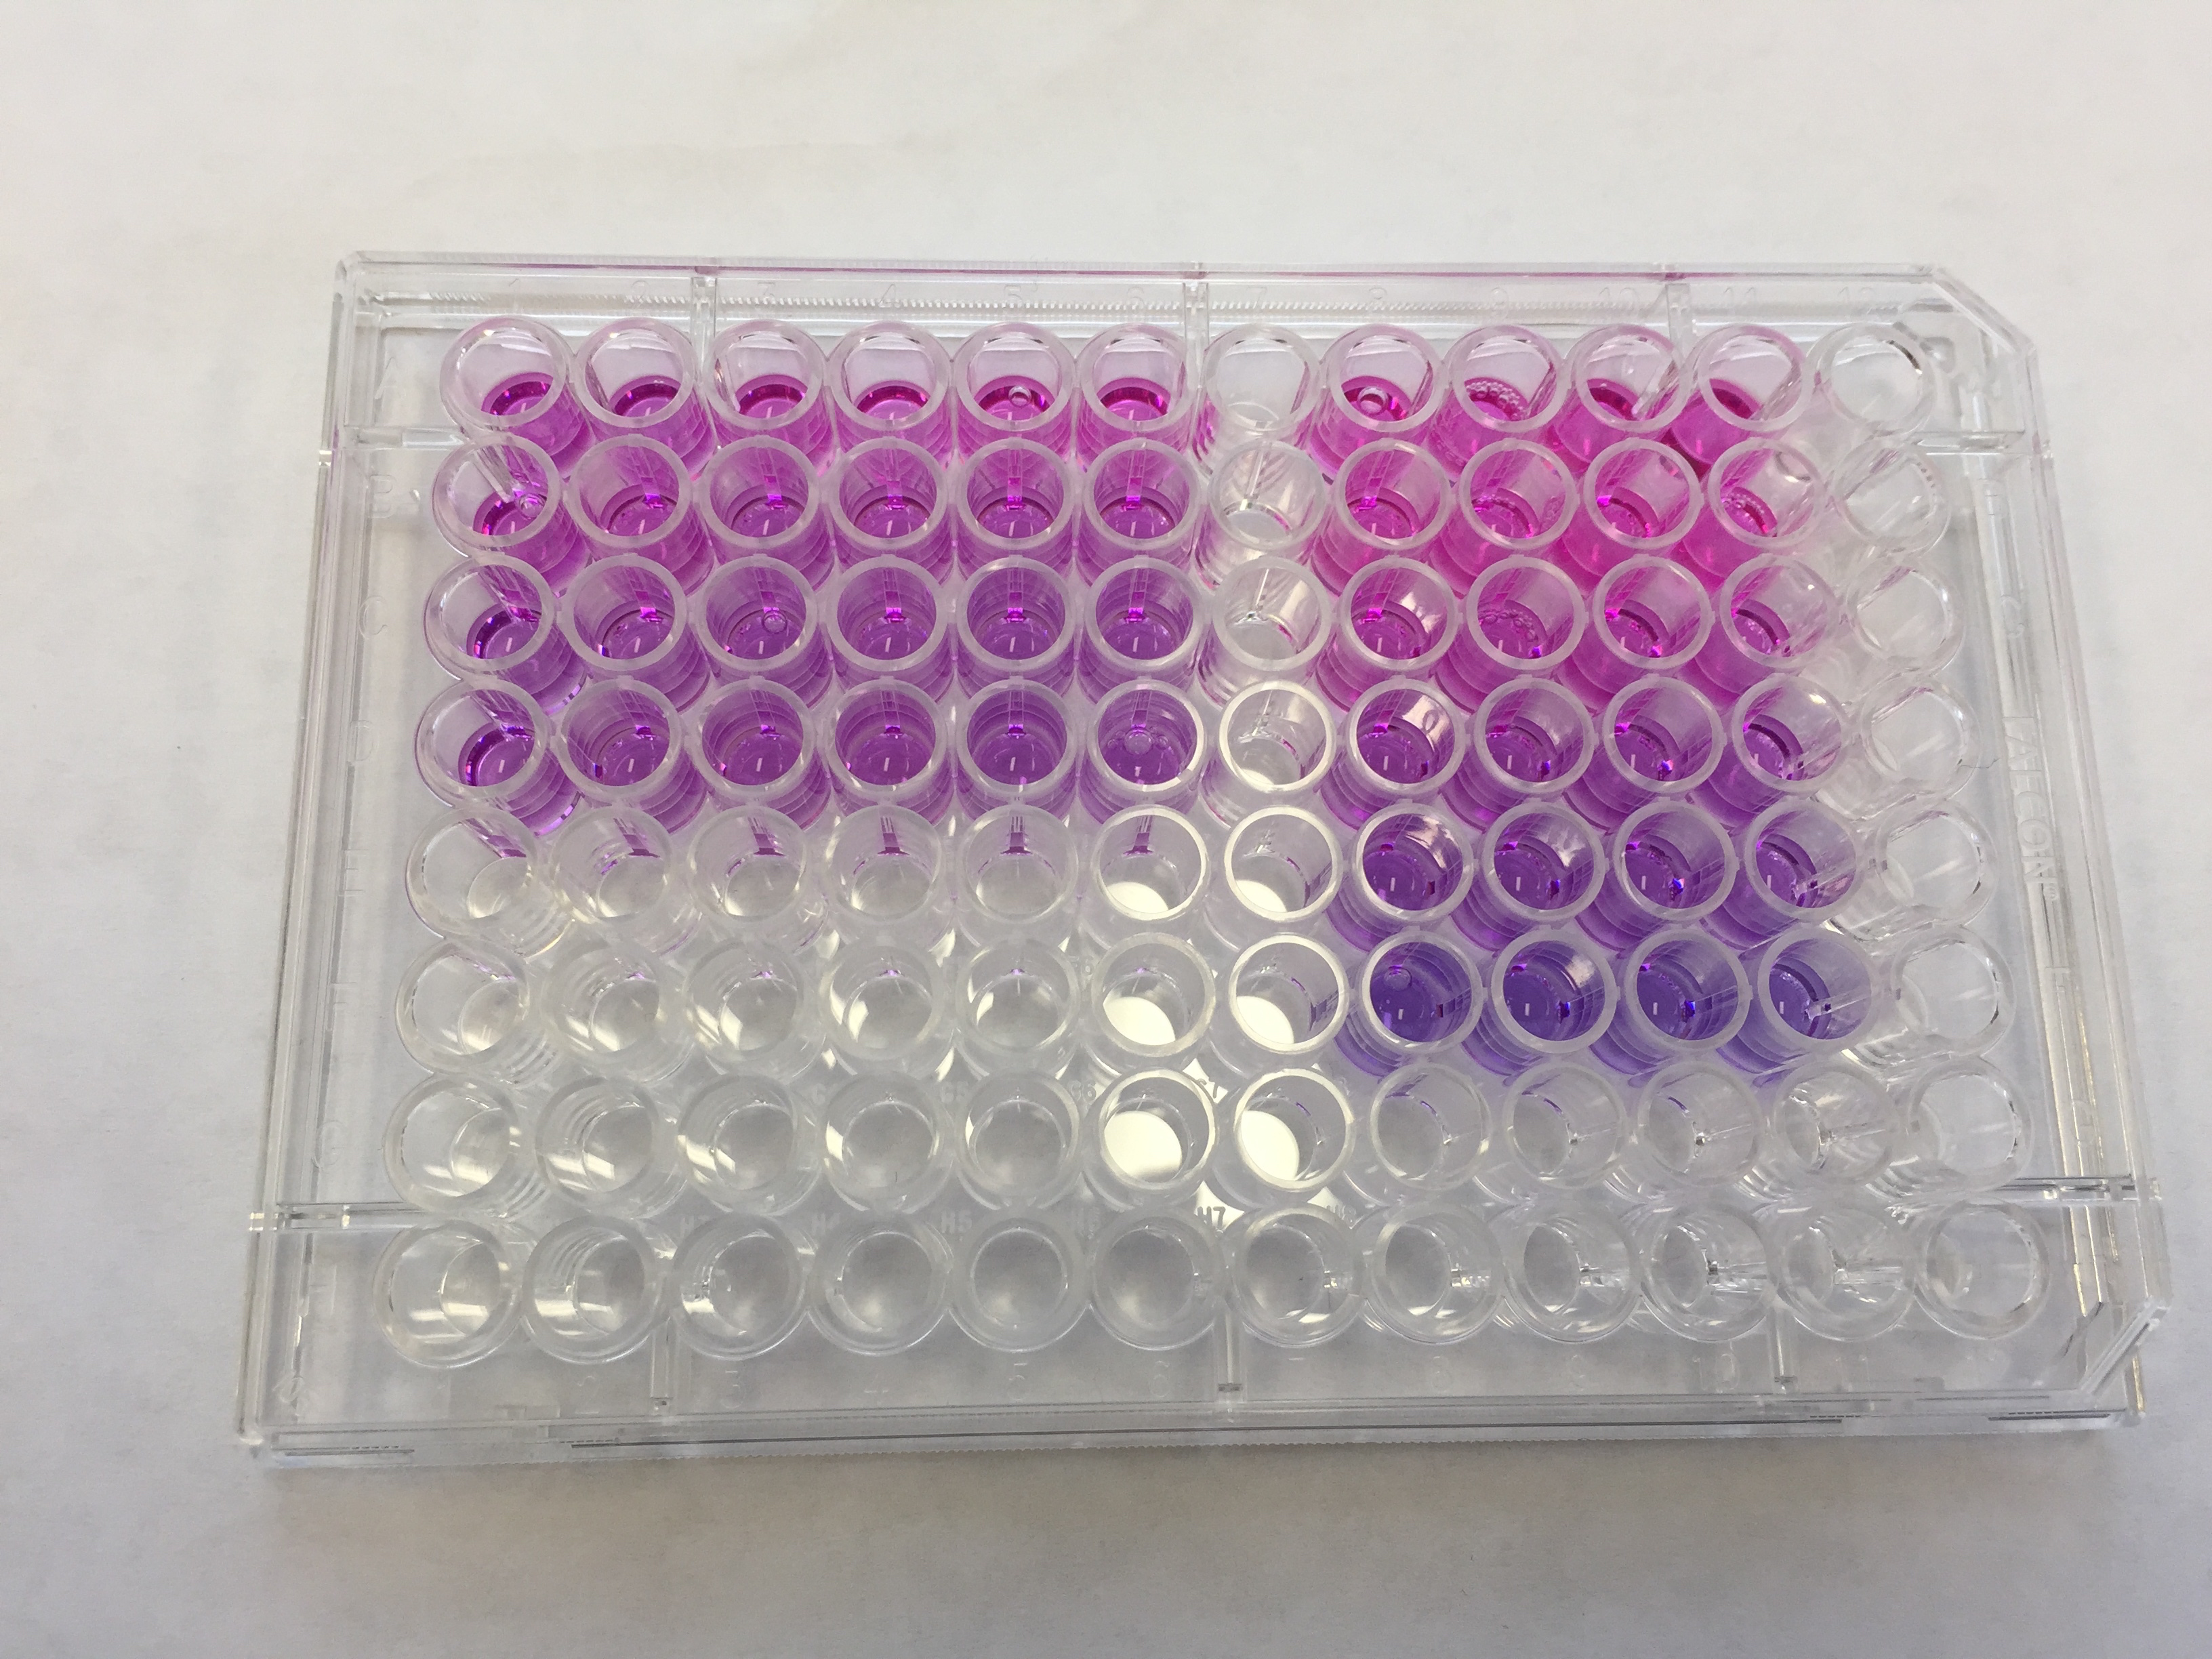
Great! Now we have made gel discs seeded with cells. The next thing would be performing an assay for testing cell viability. We want to make sure that 1) the reagent of the assay can diffuse through the gels and get to the cells; 2) the cells are healthy and alive inside the gel constructs. We chose to use alamarBlue assay because it’s simple to perform and it is not an end-point assay. You can keep testing cell viability over time. It indicates cell health by using the reducing power of living cells to quantitatively measure the proliferation of various kinds of cells. Resazurin, the active reagent of alamarBlue, is a non-toxic, cell permeable compound that is blue in color and virtually non-fluorescent. Upon entering cells, resazurin is reduced to resorufin, a compound that is red in color and highly fluorescent. Viable cells continuously convert resazurin to resorufin, increasing the overall fluorescence and color of the media surrounding cells.
We incubated the cell-seeded gel constructs with alamarBlue in the medium for overnight. The next day, to our delight, the color of the well turned pink from blue!!
AlamarBlue Assay results
The right rectangular comes from the medium incubated with cells in gels. The pink color indicates that the cells are alive and healthy in gels! High five!
Now that we know that alamarBlue assay can be successfully performed in our specific case, we can go ahead to test if the compression will have an effect on cell viability. According to literature, intervertebral cells subject to physiological compression actually become more healthy than the cells not subject to the compression. On the other end, cells subject to excessive compression will have decreased viability than the cells subject to physiological or no compression. It will be interesting to test these established observations on our bioreactor to validate the device.