Whereas the plunger array was fabricated by 3D printing, machining and milling was selected as the method for fabricating the arms, base, and stage of the system.
All parts were milled from PVC. A large block of PVC was ordered, and rough estimates of each piece’s dimension were cut with a band saw.
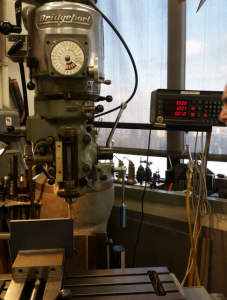
Subsequently, a milling machine (shown below!) was used to to attain exact dimensions, accurate to within a few thousandths of an inch, and with angles accurate within a few thousandths of a degree.
Each piece — the base, the stage, and both arms were cut and milled. The component of the arms that make contact with the plunger plate were rounded out to add tolerance; even if the actuation timing was slightly imperfect amongst the 2 actuators, both would be able to contact the plunger array and actuate directly downward.
The arms were placed perpendicular to — and at the edge of both lengthwise sides of — the base. Holes were drilled and threaded for screws. Screws were placed into secure the arms to the base. The stage was secured to the base in a similar fashion, with bolts to enable the motion of the arms when actuated by the linear motors. Holes were drilled to place screws to mount the linear motors. The linear motors were secured to the base, and bolted to the arms to enable their controlling of the arms. The motors were integrated with the microcontroller and the fabricated system was tested.
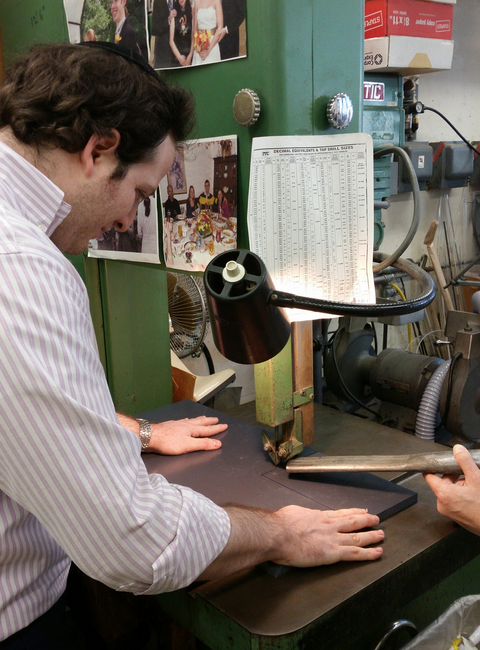
Here’s Benji hard at work!