
Previously: Removing the Sidebar. Part of a series of tutorials on using WebCommons.
Many student groups now use Twitter; a few examples are @EHHOPMountSinai, @HighValueCare, and @EAC_MountSinai. You can easily include your Tweets in the sidebar of your WebCommons pages, which is a very easy way to keep the site updated with new content.
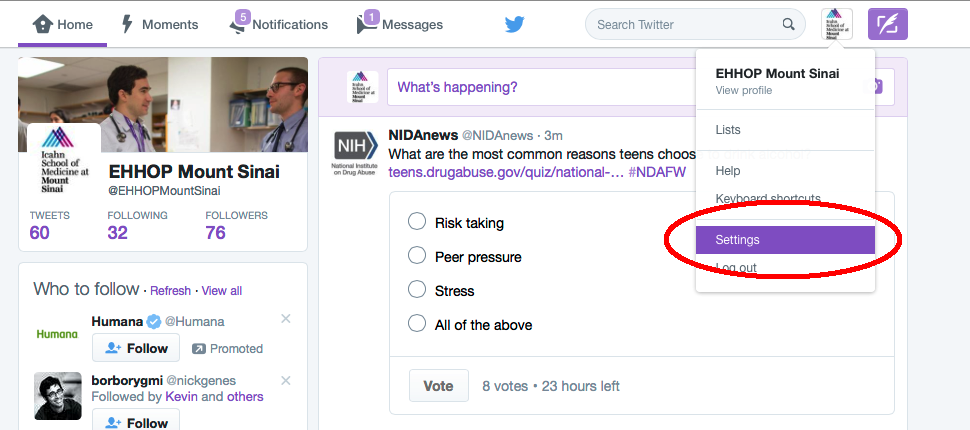
The first step for doing this is getting a Widget ID from Twitter. To do this, go to twitter.com and login to the account you are making a feed for, as normal. As an example, I’ll use EHHOP’s account here. Then go to the Settings page:
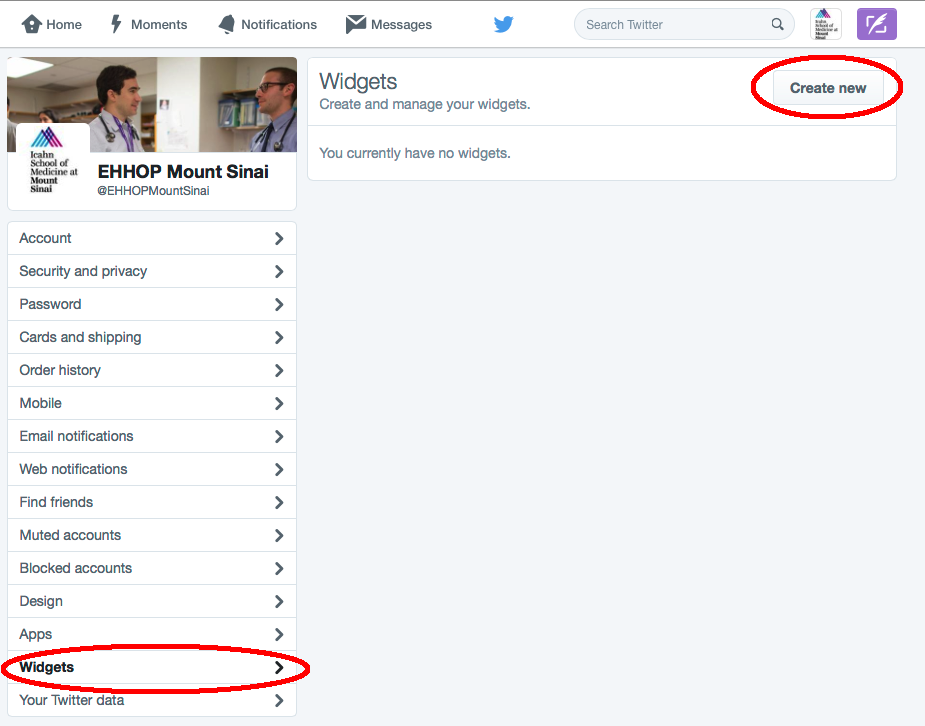
Now, on the left hand navigation bar, go to Widgets and then click Create New:
When creating the widget, all the default settings are perfectly fine. You can just click Save Changes and copy the code that they give you in the box.
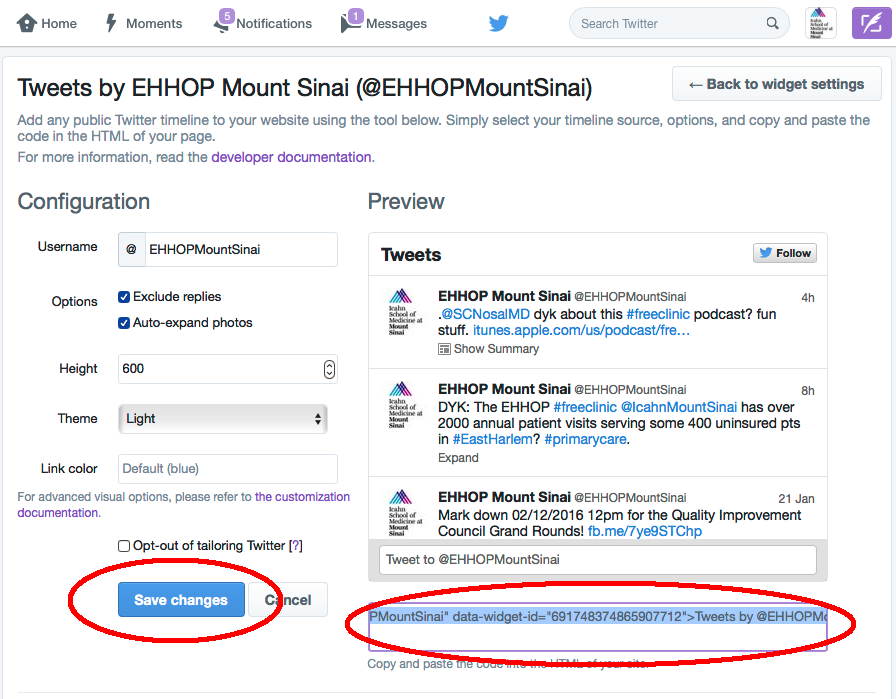
Paste that code somewhere else. A text editor or even Microsoft Word will do. It should look something like the following. The part you really need is after data-widget-id and is highlighted red below. Copy just that number, which is about 18 digits long, to your clipboard.
<a class=”twitter-timeline” href=”https://twitter.com/EHHOPMountSinai” data-widget-id=”691748374865907712“>Tweets by @EHHOPMountSinai</a> <script>!function(d,s,id){var js,fjs=d.getElementsByTagName(s)[0],p=/^http:/.test(d.location)?’http’:’https’;if(!d.getElementById(id)){js=d.createElement(s);js.id=id;js.src=p+”://platform.twitter.com/widgets.js”;fjs.parentNode.insertBefore(js,fjs);}}(document,”script”,”twitter-wjs”);</script>
![]() OK, you’re done with setting this up on the Twitter side! Go back to your WebCommons site, and return to the Customize panel. Do you remember how to do this from the earlier tutorial? (Either click the Customize button while logged in and viewing the homepage of your site; or, from the left-hand sidebar of your Dashboard, go to Appearance > Customize.)
OK, you’re done with setting this up on the Twitter side! Go back to your WebCommons site, and return to the Customize panel. Do you remember how to do this from the earlier tutorial? (Either click the Customize button while logged in and viewing the homepage of your site; or, from the left-hand sidebar of your Dashboard, go to Appearance > Customize.)
Once you’re looking at the Customize panel, go to Widgets > Sidebar. You should now be looking at a tool for changing up the widgets in your sidebar.
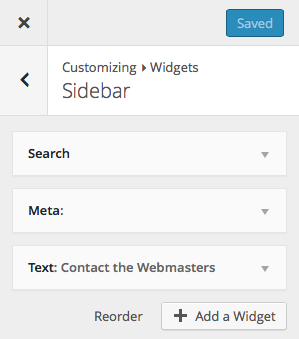
Click Add a Widget and select the Easy Twitter Feed Widget. Most of the settings here are fine as the defaults, but you’ll probably want to change the following:
- Title: You can make this whatever you want.
- Twitter Widget ID: Set this to the ~18 digit number you obtained above.
- Twitter Screen Name: Set this to your Twitter handle.
- Show Twitter Widget Header: Personally, I think it looks better to set this to “No”.
- Show Twitter Widget Border: I also think it looks better to set this to “No”.
As you make these changes, you’ll notice the live preview of your widget on the right-hand side updating in real time.
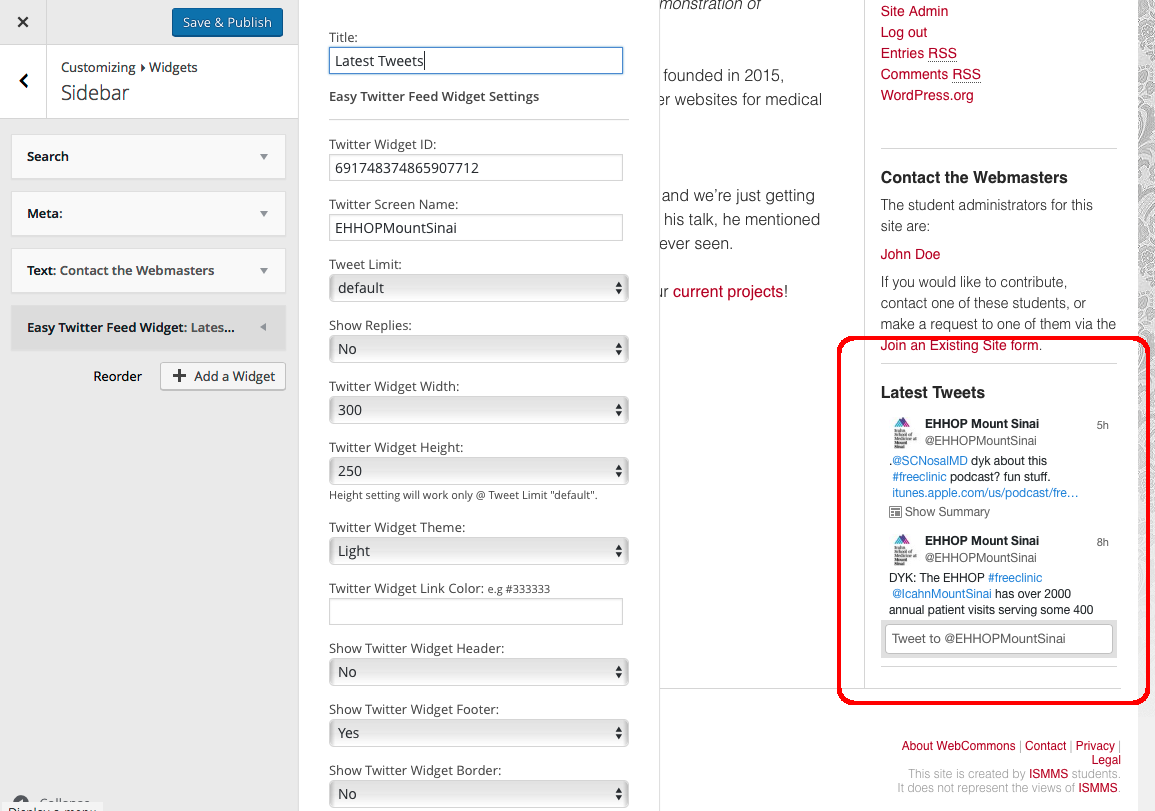
One other note about appearance. If you really don’t like the scrollbar within the widget, set the Tweet Limit to something other than “default”, like “3”, and then the widget will expand so that all the content is always visible.
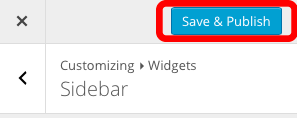
Once you’re happy with how it looks, you must save your changes by clicking the blue Save & Publish button when you are finished. Otherwise, your changes are discarded.
That’s it, now if you go to your homepage you’ll notice the sidebar contains a continuously updating widget with your Tweets in it!
Wow! You’ve reached the end of our tutorials!