
Previously: Creating new pages. Part of a series of tutorials on using WebCommons.
(Before doing this, you need to login. If you haven’t, go back and do that first.)
To briefly recap, you may be in the middle of happily creating pages when you realize you have too many pages to fit into the header:

![]() This means you have to start manually organizing your menu links, called the Primary Menu in WordPress. You can change the order of links, delete items, and even organize things into submenus. To get started, you want to return to the Customize panel. Do you remember how to get there from the earlier tutorial? (Either click the Customize button while logged in and viewing the homepage of your site; or, from the left-hand sidebar of your Dashboard, go to Appearance > Customize.)
This means you have to start manually organizing your menu links, called the Primary Menu in WordPress. You can change the order of links, delete items, and even organize things into submenus. To get started, you want to return to the Customize panel. Do you remember how to get there from the earlier tutorial? (Either click the Customize button while logged in and viewing the homepage of your site; or, from the left-hand sidebar of your Dashboard, go to Appearance > Customize.)
Rearranging menu items
Once you’re in the Customize panel, go to Menus > Primary Menu. You’ll now be looking at a control panel for reorganizing items in the menu:
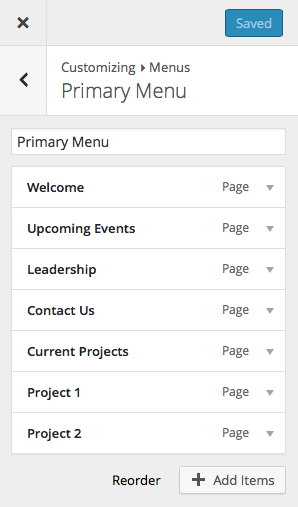
To add things to the menu, use the Add Items button in the lower right corner. You can add links to arbitrary websites, posts, and pages, among other things.
To reorder items, either drag and drop, or use the Reorder link at the bottom to provide clickable controls. You can drag items inside of other items to create submenus, which we will do here. The left-to-right position of the item indicates its place in a hierarchy, similar to an outline.
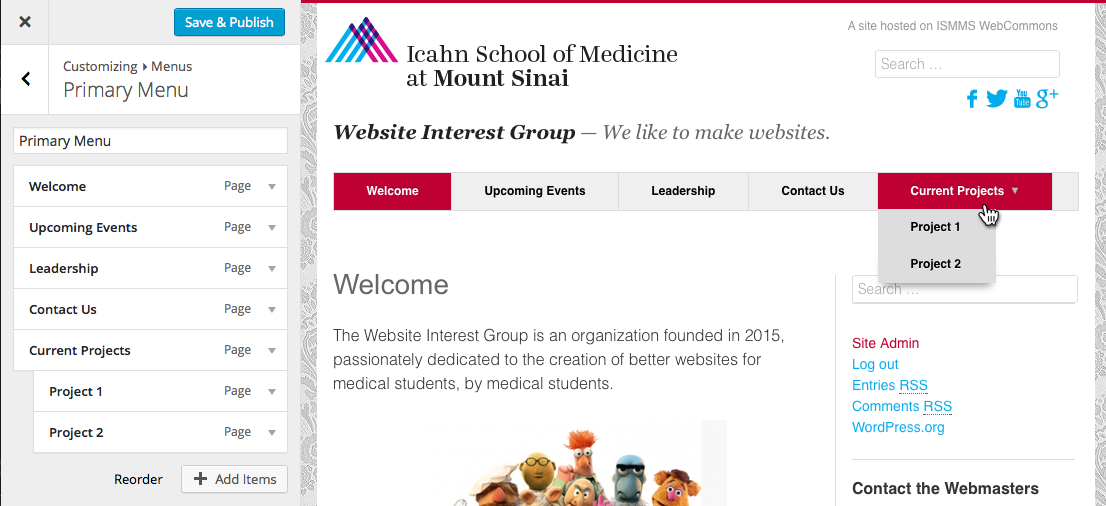
As you do all of these things, note that the changes update the preview on the right side in real time.
Editing menu items
You may want to tweak the language used on menu items. To do this, click the dropdown arrow for any of the menu items, and you can specify what the Label says, and whether the link should open in a new tab instead of the same tab. Note that you can remove a menu item in this view as well.

Saving your changes
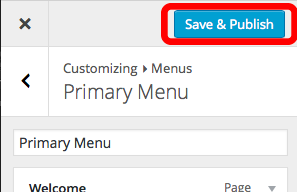
Once you’re done making changes, do not forget to save them! To do this, use the blue Save & Publish button at the top of the Customize panel.
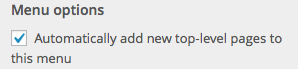
One more thing to note: If you keep making new pages and you are tired of them showing up automatically in the header menu links, there is an option to turn that off in this Customize panel at the very bottom.
At this point, you should now have full control over the menu links for your site! Next, we will cover how to edit the items in the right-hand sidebar.
Next: Customizing the Sidebar.