
Previously: Editing existing pages. Part of a series of tutorials on using WebCommons.
(Before you can do this, you need to login. If you haven’t, go back and do that first.)
There are a few ways to start building a new page on a WebCommons site. The two most common routes are depicted below:
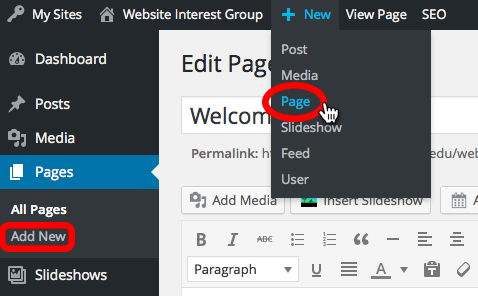
Both of these options open a blank page editor that allows you to compose new page content similarly to how you edited the existing page content in the previous tutorial. The most important controls are as follows:
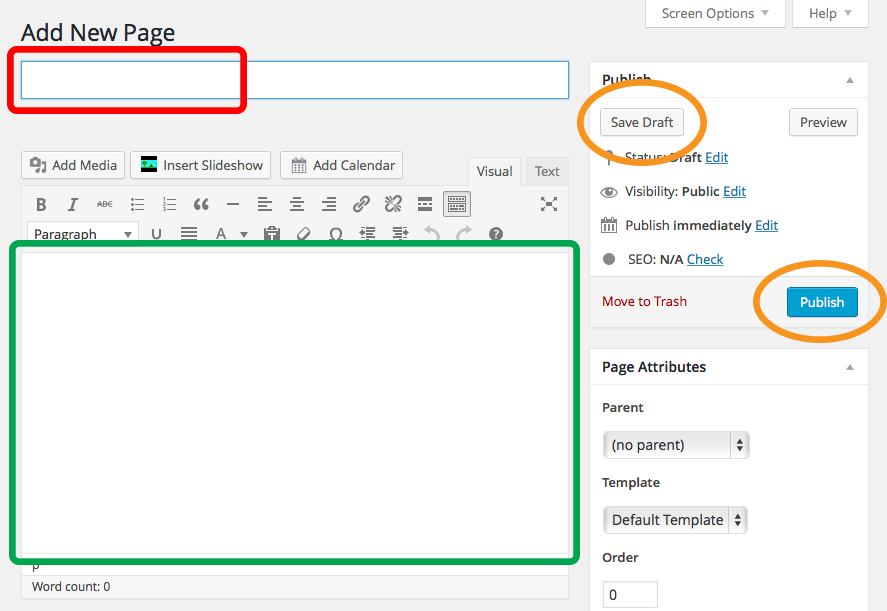
- First, set a title here. Without titles, it’s hard to manage your pages.
- Add some content here. You don’t have to finish the content, because…
- You can either Save Draft, which keep the page private and you can come back and work on it some more, or Publish, which makes the page “go live” immediately.
You can save drafts as often as you like before publishing the page. Until you’re finished, you can always return to the Pages section of your Dashboard to keep working on it.
Managing drafts and published pages
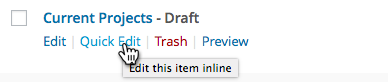
When managing Pages within your Dashboard, besides the link to the full editor for each page, you can also use the Quick Edit feature:
This gives you access to a small interface where you can change things like the page Title, the listed Author of the page, the Status of the page (e.g., “Draft,” where it is not public vs. “Published,” which makes it public), and you can even password-protect the page or mark it as “Private,” which prevents people from seeing it unless they are logged in and a registered User of your website.
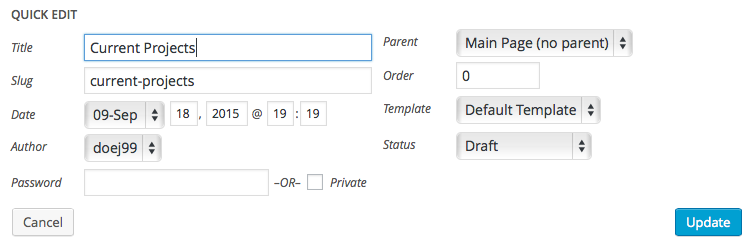
When done, always remember to use the blue Update button to save your changes.
If you decide you don’t need a page (or a draft), you can always Trash it:
Linking to your new page
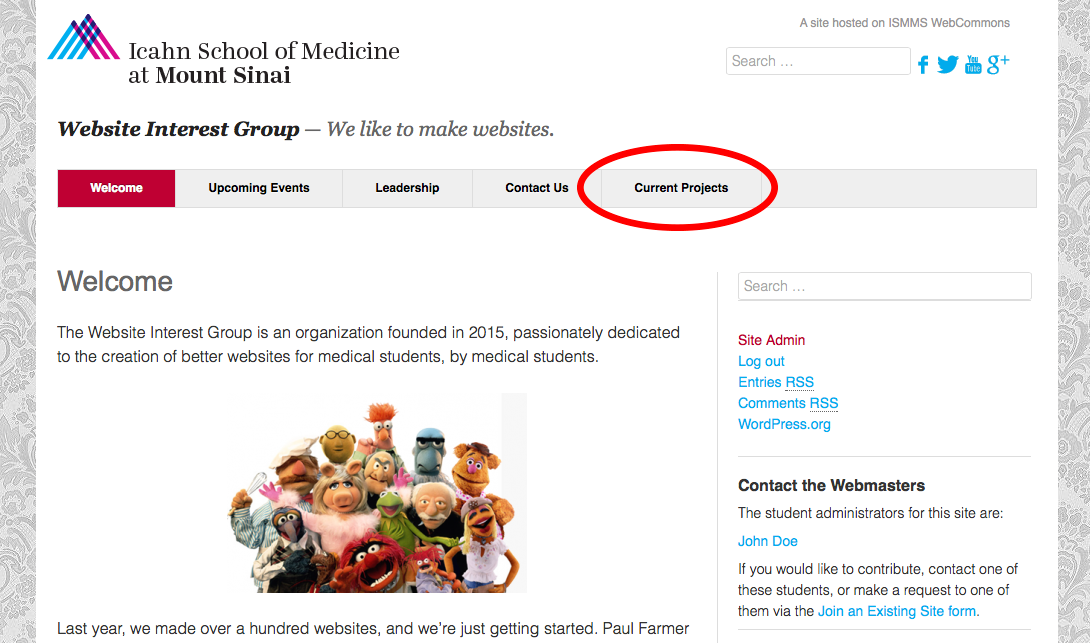
One of the most important things to consider after making a new page is how people will get to it. By default, any new pages that you publish will appear at the end of the header links, as our hypothetical new page on Current Projects just did:
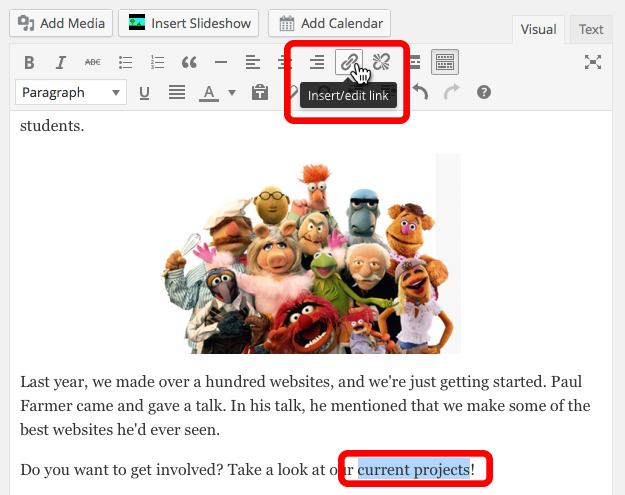
But it’s easy for people to miss out on the connection of this page to the rest of the site, so it’s better to edit links into other pages that put it in context. For example, we can edit the Welcome page and add a link to the new page by opening the Page Editor (do you remember how to do this?) and then writing some new text, highlighting the part we want to link, and using the Link tool:
This opens a window where you can type/paste in the URL you want to link to, or even more handily, open a list of all the existing pages on your site and select the link target:

and simple as that, your link inserts into the Page Editor where your highlighted text was. To edit or remove an existing link, simply click on it in the Page Editor to get a mini-toolbar:
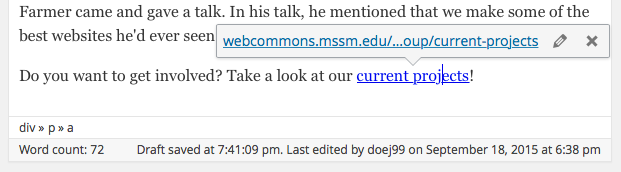
This will also allow you to preview the link if you click on the URL shown.
Once you’ve created many pages
You will probably reach a point very soon where there are too many pages and your header links are overflowing.

At this point, you likely need to reorganize your header menu links. To find out how to do that, proceed to the next tutorial!
Next: Customizing Menu Links.