
Previously: Customizing basic settings. Part of a series of tutorials on using WebCommons.
(Before editing, you need to login. If you haven’t, go back and do that first.)
Most likely, the first thing you’ll want to do after setting your title and basic theme is to replace the default content that is in a WebCommons site. We’ve geared the default content around the typical needs of a student organization: a “Welcome” (home) page, a page on “Upcoming Events,” a list of current “Leadership,” and a “Contact Us” page. But since it’s just a template, all that’s there now is some placeholder text and images.
To start editing your pages, while in the Dashboard, click on Pages in the left sidebar and you’ll see the following screen. (The Dashboard is the first thing you see after logging in and you can always get to it from the top bar, using My Sites > your site name > Dashboard.)
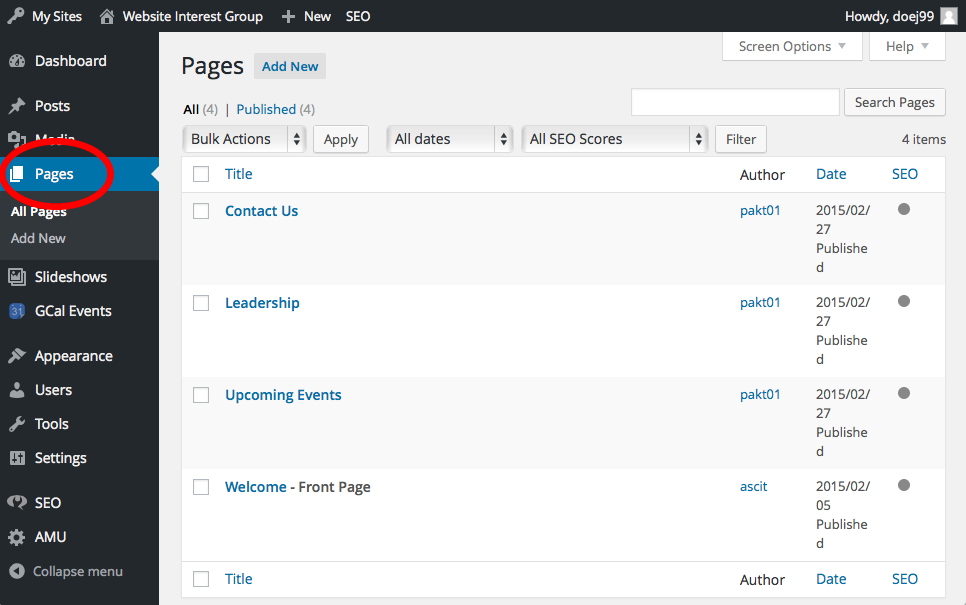
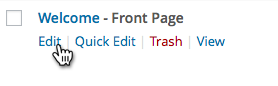
Once you’re at this screen, you are looking a list of pages on your site. The default template comes with the four we just mentioned. From here, you can Edit, Quick Edit, Trash, or View them if you mouse over the rows. Let’s click Edit for “Welcome,” which is currently the front page of the site:
You’ll now see a screen like the following, which is the Page Editor for WordPress. Although there are a lot of controls, the most important ones are circled in red below.
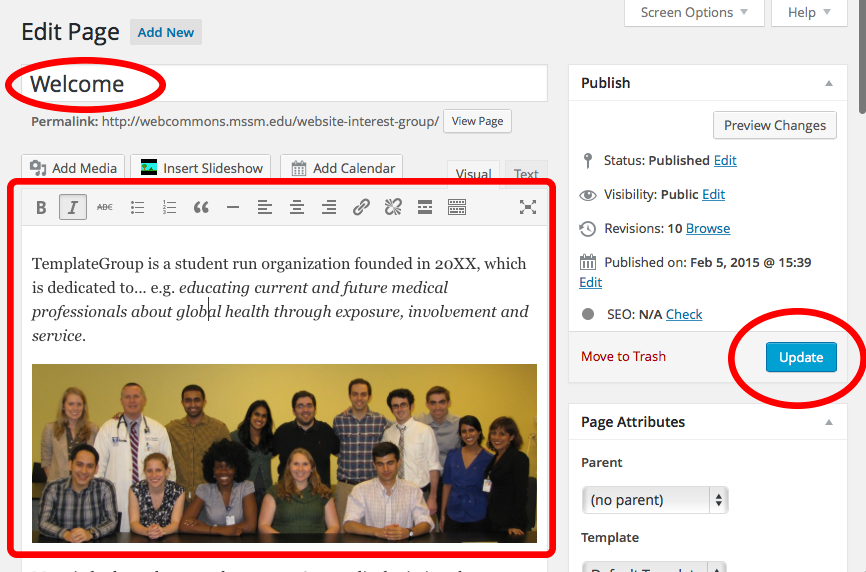
The top textbox sets the title of the page, and you can change it to whatever you want. The large area below it is how you edit the content for the page—it’s much like the interface for Google Docs, and you can use basic formatting options like bold, italic, justification and so on. The blue Update button is how you save your changes.
There are two buttons on that toolbar that you probably won’t recognize. The one that looks like a road:

is how you insert the “Read More” marker into your page or post. For pages, it does absolutely nothing. For posts, this is how WordPress figures out what part of the article you want to show as a “teaser” in a list of posts, after which the “Read More” link is placed to allow the reader to view the entire article. Check out the MSTP WebCommons site to see how this feature works.
The other button unhides a bunch of extra formatting tools:

like the Paragraph Style dropdown (which lets you make headers of various sizes), changing the font color, setting indent, and so on. As a start, try using the editor to type over the existing text as appropriate.
Changing, removing, and adding images
After editing some stuff, you’ll probably want to replace the placeholder image. You do this pretty much the way you’d do in Microsoft Word or Google Docs: first click on it to select it…
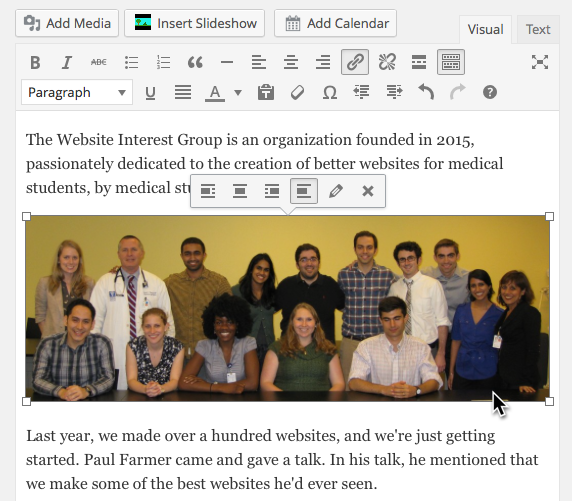
You’ll notice this brings up a little micro toolbar for positioning or editing the image. You can either hit the X to delete the picture, or use the Backspace/Delete keys on your keyboard to do the same.
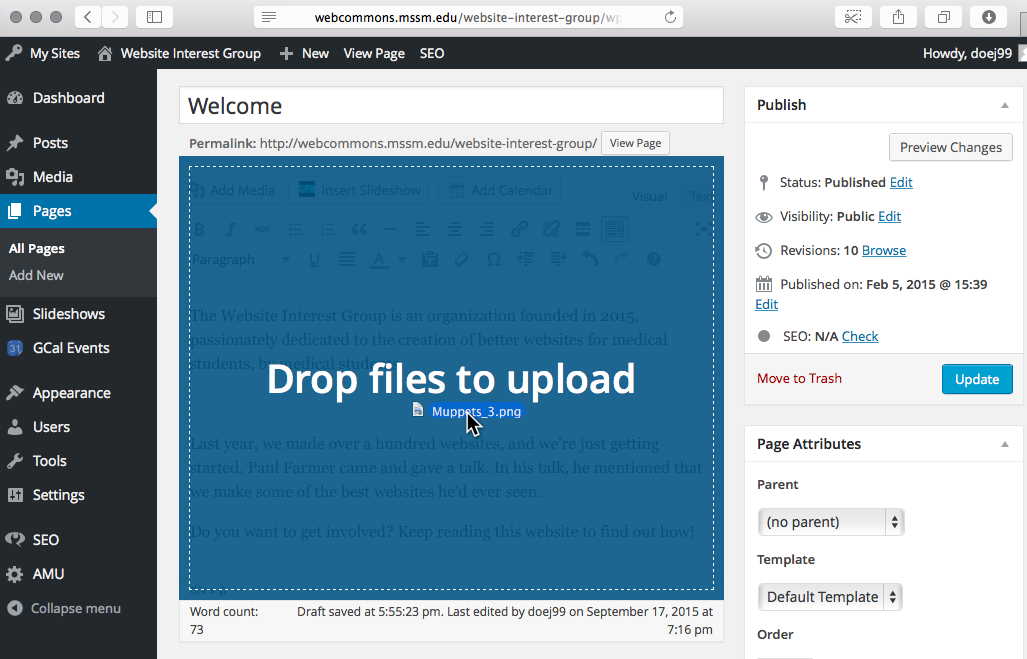
![]() Conversely, adding a picture to the page is as easy as dragging and dropping it from your desktop or file manager, which will upload the image and insert it at your cursor. If that doesn’t work, you can use the Add Media button.
Conversely, adding a picture to the page is as easy as dragging and dropping it from your desktop or file manager, which will upload the image and insert it at your cursor. If that doesn’t work, you can use the Add Media button.
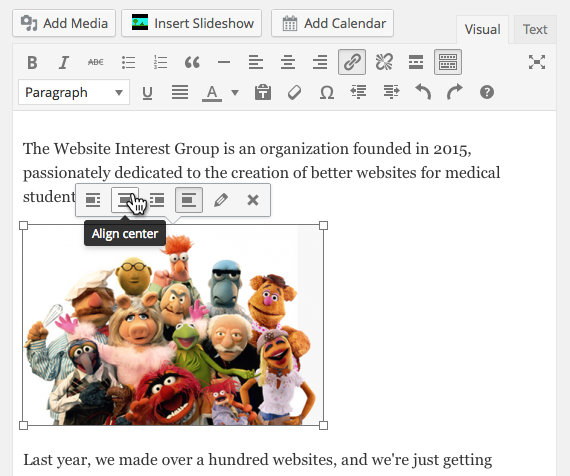
After the image is uploaded, you can again select it and use the micro toolbar to adjust things like its positioning (left, center, right, or inline).
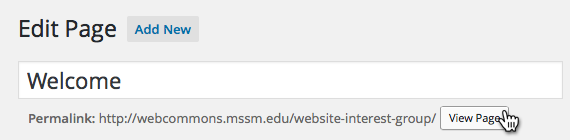
![]() Once you’re all set, don’t forget to hit the blue Update button to save your changes. You can then go to your finished page by hitting the View Page button at the top of the editor.
Once you’re all set, don’t forget to hit the blue Update button to save your changes. You can then go to your finished page by hitting the View Page button at the top of the editor.
Editing pages while viewing the site
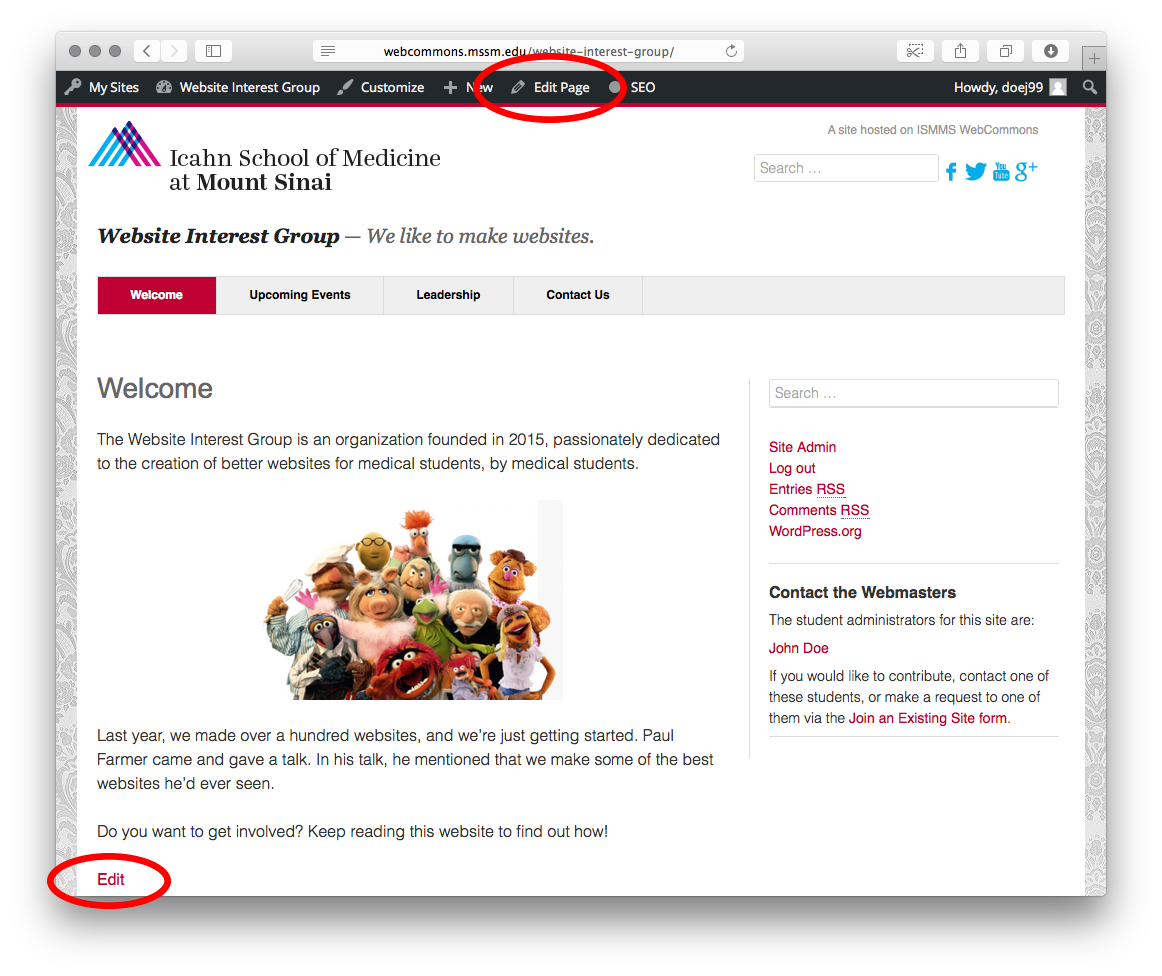
When you’re browsing your website while logged in, you’ll notice you have the black bar at the top that gives you access to the Dashboard and the Customize panel covered in the last tutorial, and some other things. Note that you can use the Edit Page button to edit any page you’re looking at, and there are also Edit links at the end of each page while logged in.
To finish this tutorial, try navigating to the other pages on your website using the links in the gray header, and then use all the techniques we just covered to edit those pages and replace their placeholder content with real content.
Congratulations! Once you’re done with this, you have completed a basic website for your student organization.
Next: Creating new pages.